Save to My DOJO

If you want to start on your scripting journey with PowerCLI, you need a target to run your commands against. If you are running low on resources, be it memory, CPU or storage, you will struggle to get a usable virtual environment up and running. If this is your case, this article is made for you. However before we get started, if you’re interested in learning about PowerCLI in a more interactive format, be sure to check out our webinar on PowerCLI below!

Ok, let’s get started!
vCenter simulator (VCSIM) is a tool that has been around since VCSA 5.1. It helps beginners practice without the need for a full-scale environment by simulating changes in a vSphere environment. A contributor going by the alias Nimmis wrapped VCSIM inside a container and released it on Docker hub.
Prerequisites
The great thing about VCSIM is that there are almost no prerequisites. All you need is a Docker engine and PowerCLI. If you need some help with the prerequisites you can check our comparison VMware Workstation vs VirtualBox or our article on Client Hyper-V in Windows 10 to create your Linux virtual machine and our beginner’s guide for PowerCLI.
Additionally, if you prefer an eBook format, take a look at our PowerCLI eBook for more information!
Installation of the Docker engine
You can use whatever Linux distribution that is supported by Docker, but for the sake of this demonstration we will use Ubuntu 20.1 LTS (Long Term Support).
Note that some of the commands we will perform are specific to Ubuntu. If you are running a different distribution, you will need to refer to the documentation to find the equivalent commands.
-
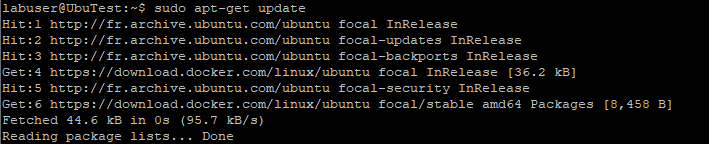
As usual, it is always good measure to start by updating your package index
|
sudo apt-get update |
-
You will then need to install a set of dependencies required for Docker
|
sudo apt-get install apt-transport-https ca-certificates curl gnupg-agent software-properties-common |

-
You can add Docker’s GPG key. This is optional but then you don’t have to worry about the validation of the signatures
| curl -fsSL https://download.docker.com/linux/ubuntu/gpg | sudo gpg –dearmor -o /usr/share/keyrings/docker-archive-keyring.gpg |
-
Now we need to install the Docker repository. Note that we set it to stable but you could choose test or nightly
| echo \
“deb [arch=amd64 signed-by=/usr/share/keyrings/docker-archive-keyring.gpg] https://download.docker.com/linux/ubuntu \ $(lsb_release -cs) stable” | sudo tee /etc/apt/sources.list.d/docker.list > /dev/null |
-
Update the package index once again. You should get hits on the docker repo.
|
sudo apt-get update |
-
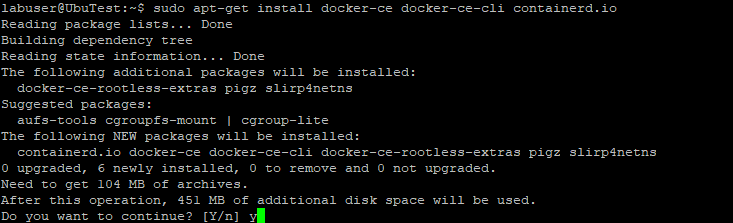
We can then go ahead and install the Docker Engine
| sudo apt-get install docker-ce docker-ce-cli containerd.io |
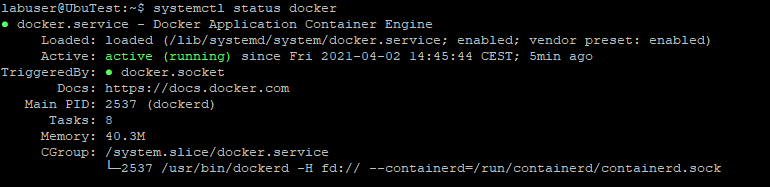
| systemctl status docker |
Once this is done the docker engine should be ready to run some containers.
Deployment of the VCSIM container
What makes this simulator so easy to use is that you only have to deploy it from the public repo. You can then destroy it and create a new one in a matter of seconds like any other container.
-
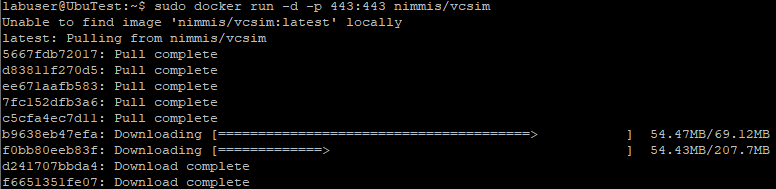
Run the following command to automatically pull the binaries from the repo and run the VCSIM container:
| sudo docker run -d -p 443:443 nimmis/vcsim |
-
Check that the container is now running with the “ps” command.
| sudo docker container ps |

Note that by default you will need it to start the container when you reboot the machine. To start the container, find its ID and then use it to start it.
| sudo docker ls -al
sudo docker start <ID> |

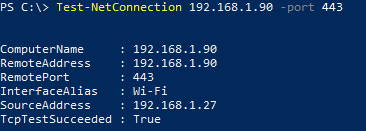
Once the container is running you should have access to it on port 443. However, it is solely an API endpoint so you won’t get anything out of it in a web browser as there is no vSphere-client service running.
PowerCLI and VCSIM
You can connect to the simulated vCenter in a similar way as you would connect to any other VI instance by using the “Connect-VIServer” cmdlet.
-
Username: u
-
Password: p
| Connect-VIServer @IPvCenter -user u -password p |
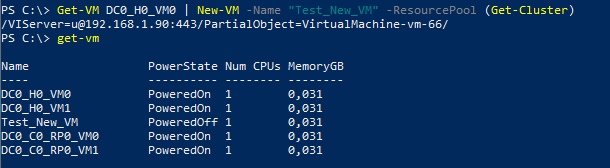
The connection takes longer than with a traditional vCenter endpoint. You can then start playing around with PowerCLI cmdlets without the risk of breaking something. Below is a short overview of the default simulated provisioned environment.
Get-VMHost

Get-VM

Cloning a VM
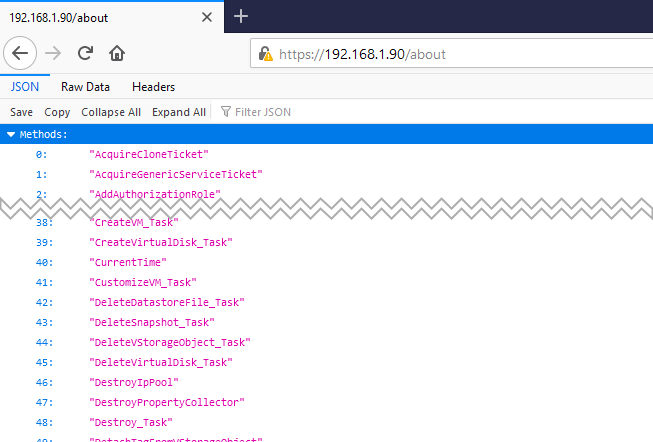
You will find that many commands won’t work as they would in a normal environment as not everything can be simulated. You can get the list of supported methods by browsing to https://@IPvCenter/about
Difference with a real vCenter
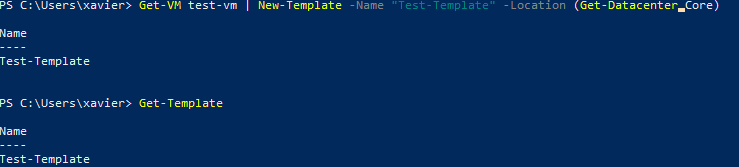
The main drawback of the tool is that it doesn’t always react like an actual vCenter. For instance, the “New-VM” and “New-Template” cmdlets output a string instead of VM or Template objects, which you cannot pipe into another cmdlet such as “Start-VM”.
VCSIM:

vCenter:
Conclusion
VCSIM is a great, easy to use, container-based tool to get started with PowerCLI in a matter of minutes with very little resources at hand and no risk at all when running commands. If you break something or want to go back to the original environment, just destroy the container and recreate it.
However, you will need to ensure that what you are doing is actually supposed to work with the simulator if you encounter problems. If a script of yours doesn’t work, it doesn’t necessarily mean that there is an issue with it. It might be that whatever you are trying to do isn’t supported by VCSIM or that it doesn’t return the correct object type.
Do you find this tool helpful? Does it address some of your testing needs? Do let us know in the comments section below and If you’d like to see a live demo of this tool be sure to check out our on demand PowerCLI webinar as we cover this tool in detail in a lab environment!
Thanks for reading!


Not a DOJO Member yet?
Join thousands of other IT pros and receive a weekly roundup email with the latest content & updates!
More in this category


About the Author
Xavier Avrillier

