Save to My DOJO
Table of contents
In our previous post “How to Configure ESXi Unattended Installations: Part 1“, we went over creating the kickstart file and testing it on an ESXi deployment. Now we will continue with our goal, which is to automate the ESXi installation process by configuring our ISO to automatically look for the kickstart script and truly install ESXi in an unattended fashion.
Configuring the vSphere ISO
First, we need to download a vSphere ISO from VMware’s website. In the following demonstration, I’ll be downloading vSphere 6.7 here. You can do this with vSphere 6.5 as well, I’ve tested this with both versions.
Once we’ve downloaded vSphere, we need to edit the ISO. There are various ways of doing this, VMware’s documentation shows how to do this in Linux, but not everyone has a Linux box just lying around to modify ISO files on. So in my example I’ll be using UltraISO which I’ll download by using chocolatey in PowerShell on a Windows 10 device. If you followed along in our previous post, this is also how we downloaded OpenSSL Lite to help us create an encrypted password. If you don’t have the chocolatey package in Powershell type the following command. If you still have it from the previous post, skip this step:
get-packagedprovider -name chocolatey

Now we will install UltraIso through Chocolatey by typing the following syntax into PowerShell:
Install-Package -Name UltraISO

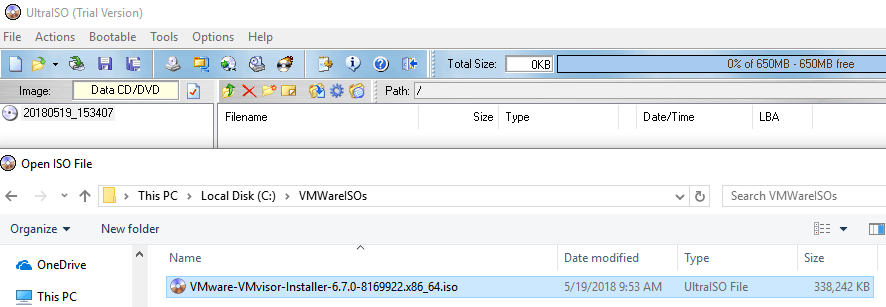
Once Ultra ISO is installed, search for it in your start menu, it should be a newly install program on your system. Accept the free trial if your prompted for it. Now select File > Open and navigate to your vSphere 6.7 (or vSphere 6.5) ISO that you downloaded and select Open:
Now we need to edit the boot.cfg file, this is where all the magic happens. The boot.cfg file is the boot loader configuration file. It specifies the kernel and boot modules that are used during the ESXi installation. We will copy the boot.cfg file into a folder for us to make edits. In my example I just simply drag it into my VMWareISOs folder:
Now lets have a look at this file. If you open it up in notepad we can see the boot configuration for ESXi:
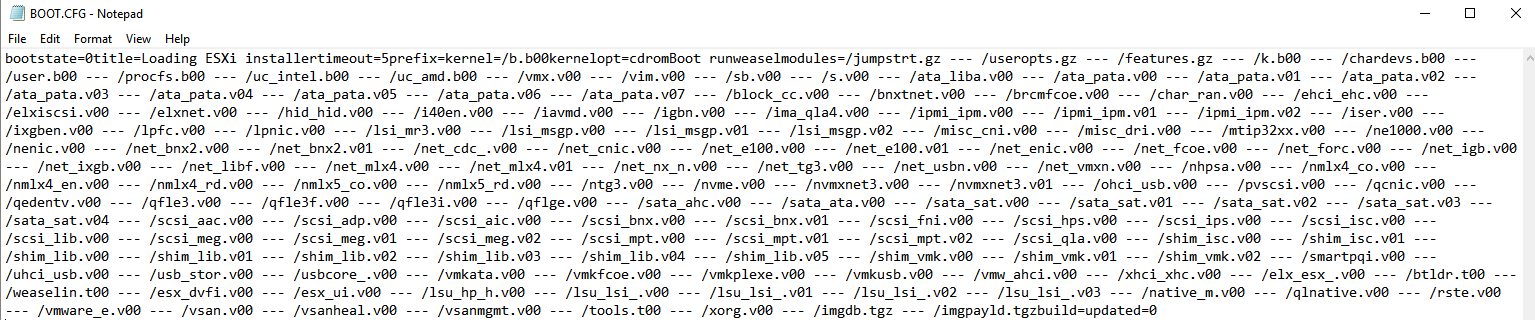
Now lets make some edits. I like to space mine out a little bit so it’s easier to read. I’m going to demo two different things that we can do with the boot.cfg and kickstart file. We can edit this ISO to perform a network unattended installation, where the ESXi installation will automatically look for the kickstart file on an NFS share, FTP, or Webserver. Additionally we will also demo the scenario of a no-network unattended install by placing the kickstart file on the installation media and configuring the boot.CFG to look for the kickstart file on there automatically during the ESXi install process.
Creating A Network Unattended Install ISO
To configure the ISO to look for the kickstart on a network, we simply remove the “cdromBoot runweasel” text from the boot.cfg and input the following instead:
kernelopt=netdevice=vmnic0 bootproto=dhcp ks=nfs://192.168.0.6/kickstart/ESXiLabConfig.cfg

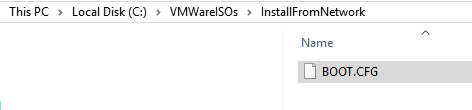
Now, I save the boot.cfg to a new folder called “InstallFromNetwork”:
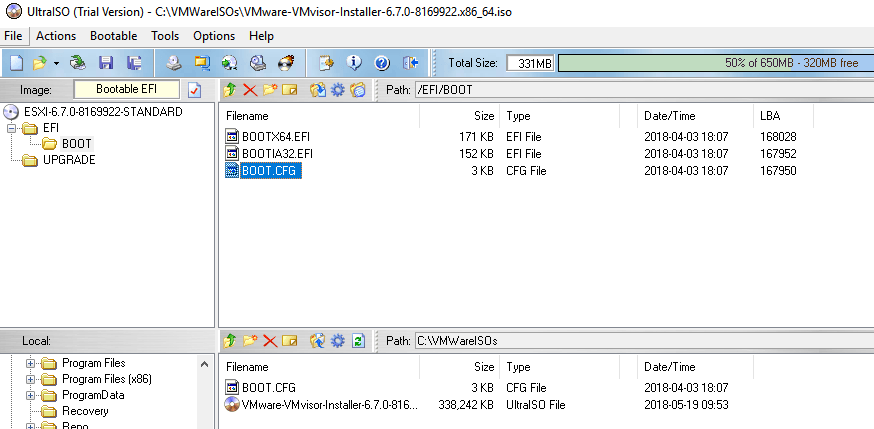
In UltraISO we want to overwrite the boot.cfg by dragging it from our newly created folder over to 2 different locations on the ISO. The first is going to be at the root of the ISO file:
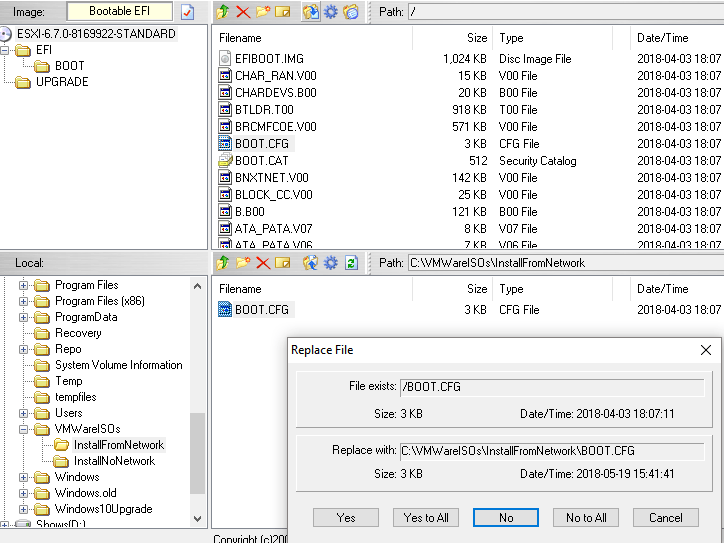
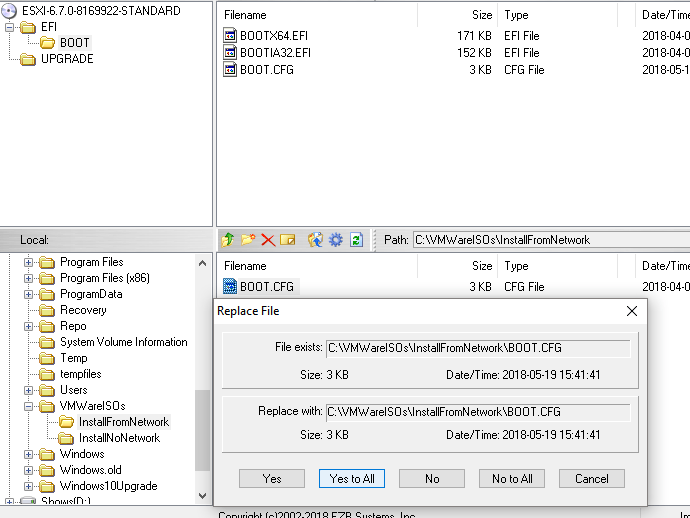
The second will be in the “Boot” folder which is located under the “EFI” folder:
Once we are done with that, in UltraISO select File>Save As and name the ISO something memorable. In my example I named it “ESXi 6.7 Unattended Network Installation.iso”:

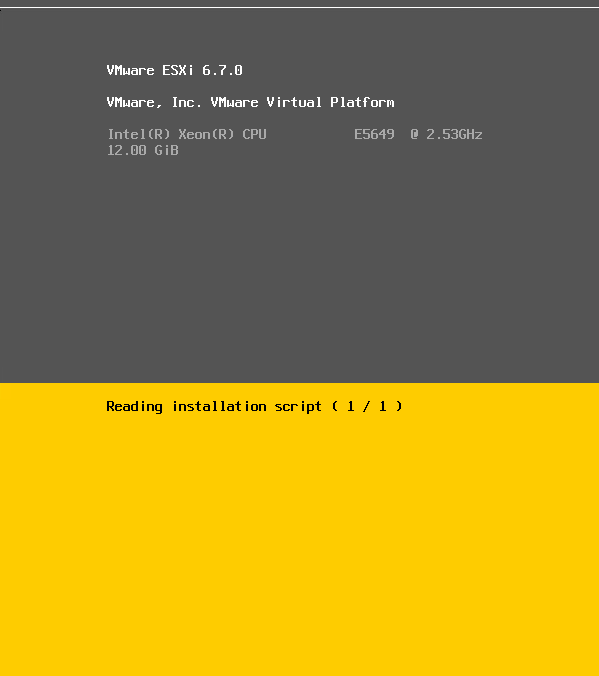
Now lets test our new ISO, we boot our host up to the ISO and as long as the NFS share is available, BAM! It starts the automated install with no human action required:
Creating A No Network Unattended Install ISO
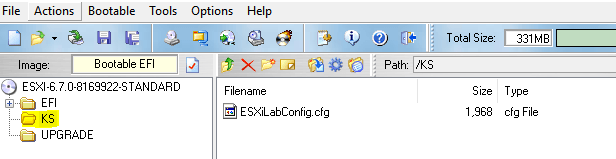
To edit our ISO to contain the kickstart script and configure ESXi to look for it there upon boot, we will want to start off by moving the kickstart file into the ISO. I created a KS folder at the root of the ISO and copied our .cfg file that we created in our previous post to that location :
Now we need to edit the boot.cfg file. Copy it from the EFI\Boot folder and edit it in notepad. Remove the “cdromBoot runweasel” text from the boot.cfg and input the following instead. NOTE: You must have the location of the .cfg file in all caps or this will not work. Due to a limitation with ESXi, the CD-ROM location needs to be all upper case like below:
kernelopt=netdevice=vmnic0 bootproto=dhcp ks=cdrom:/KS/ESXILABCONFIG.CFG

When finished, save the boot.cfg to a folder. In my example I save it to a folder called “InstallFromNoNetwork”:

In UltraISO we copy the boot.cfg to two places on the ISO. The first is in the “Boot” folder which is located under the “EFI” folder::
I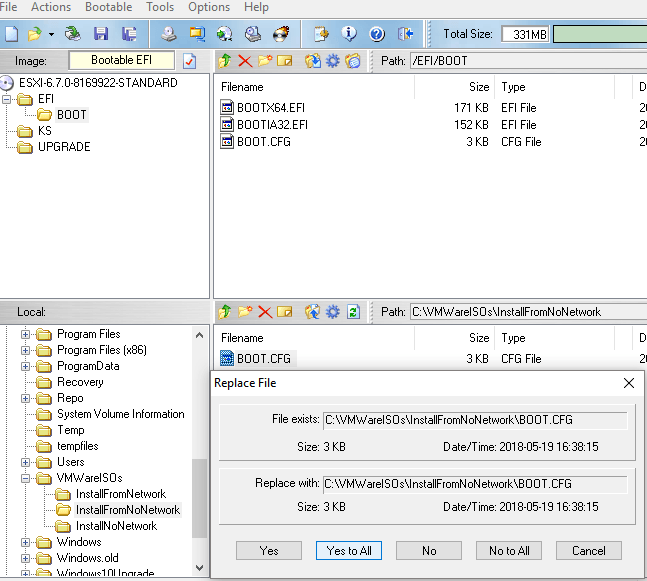
Then, we copy the boot.cfg again to the root of the ISO:

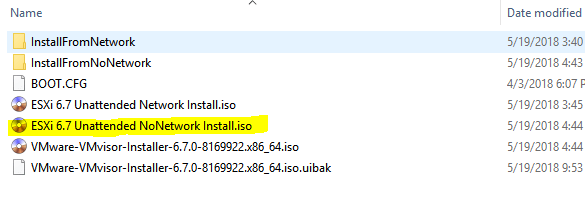
In UltraISO do a File > Save As and name the newly modified ISO file. In my example I name it “ESXi 6.7 Unattended NoNetwork Install.iso”:
Now, boot your server to the new ISO and walk away for a few minutes. Then come back to a fully installed and configured ESXi host:
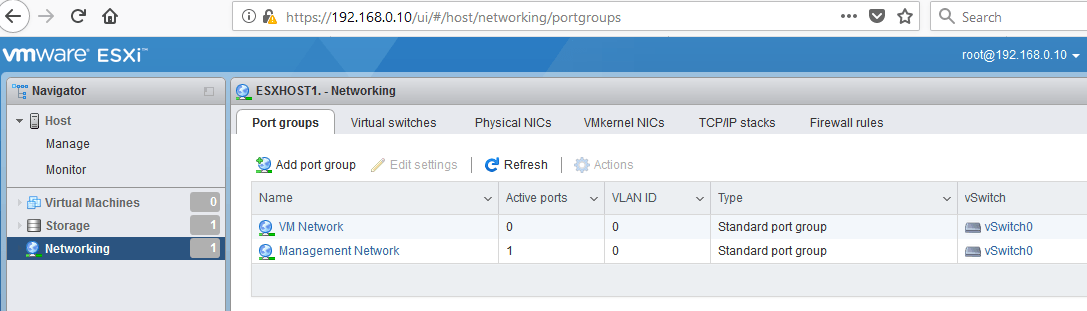
Now, just to verify, I log into the newly created ESXi host. I can see it’s hostname is configured as well as the vSwitch networking:
I have saved so much time doing ESXi installs this way, and not only is it a more efficient way of installing and configuring an ESXi host, but it also standardizes the installation preventing two different engineers from installing ESXi differently. Let me know what you think in the comments below if this is useful or not to your organization, and also be sure to share success stories if you have them!
Thanks for reading!
[the_ad id=”4738″][thrive_leads id=’18673′]


Not a DOJO Member yet?
Join thousands of other IT pros and receive a weekly roundup email with the latest content & updates!
More in this category


About the Author

Luke Orellana


8 thoughts on "How to Configure ESXi Unattended Installations: Part 2"
What is the point of PowerShell and chocolatey in this article when you can download UltraISO from a browser?
Hi,
In the .cfg file where all the configurations are located(network, vnic0, etc…, how do you create ESXi 6.7u2 to only take up a portion of the 1 drive for example 10 gig only?
my example… I have 1 500 gig drive, I do not what ESXi to take all of it, I just want to install ESXi 6.7u2 to use 10 gigs from the 500 gig drive as the rest will be for my VM’s
Please help.
Eric
You will want to set this up on the RAID configuration of the host before installing ESXi. If your working on HPE servers, I have a post that shows how to automate this: https://www.altaro.com/vmware/esxi-hp-proliant-part-2/. You can create a RAID6 and then a 10GB logical drive partition. Then use the kickstart script here: https://www.altaro.com/vmware/scripted-deployment-esxi-part-1/ which will install esxi on the first disk partition, which can be 10GB or whatever the logical drive size is. Hope that helps!
After doing all the config when I start the installation process
I am getting this error while booting
” The specified network interface card (Name: vmnic0) is not plugged in. Installation cannot continue
Most likely the ethernet cable on your host’s network card isn’t plugged into the right port. There has to be network connectivity in order to boot with the kickstart script. You can move the ethernet cable to the port that corresponds as vmnic0. Or you can specify a different network card port by changing “vmnic0” in the “kernelopt=netdevice=vmnic0 bootproto=dhcp ks=nfs://192.168.0.6/kickstart/ESXiLabConfig.cfg” part of the .cfg file to “vmnic1” or “vmnic2” depending on how many ports are in the network card.