Save to My DOJO

Table of contents
Worried artificial intelligence will take over the world? Well, it doesn’t look like that’s happening any time soon. But one thing AI can help you with is to take your MSP to new levels. How so? Well, it’s all thanks to Azure AI.
Artificial Intelligence has become a big buzzword within the IT world. Companies like Microsoft have been heavily investing in AI projects and are now allowing companies to take advantage of this through their Azure Cognitive Services.
One of the recently released cognitive services that they are offering is the custom vision service, which allows companies to use Microsoft’s machine learning algorithms to analyze images and classify them however they desire. Managed Services Providers can now harness this power in their own PowerShell scripts to provide even more automation for their clients.
For example, we’ll make up a simple scenario. Let’s say, as an MSP, we want to start offering clients a “rack organization” service, where we will go onsite and organize their racks and clean the cabling up. We need to determine which clients could benefit from this service so we can target them.
This would require going through each client’s rack picture in our client documentation to determine which ones require some rack cleanup. Then, we can reach out to each client and offer additional services for organizing their server racks. However, we can automate this process with Azure’s Custom Vision service. Let’s see how to do that.
Getting Started
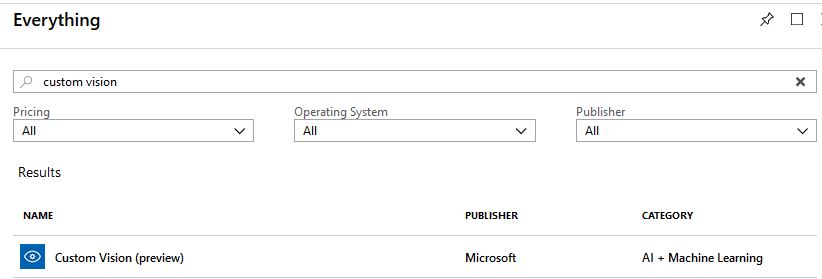
To get started creating our own Custom Vision API, we need to go to Azure. If you don’t have an account then you can sign up for one. Once logged in, go to Create a Resource on the left-hand side and type in Custom Vision. This is currently in the preview stage right now, so there will be a “Preview” next to the service. Go ahead and select it:
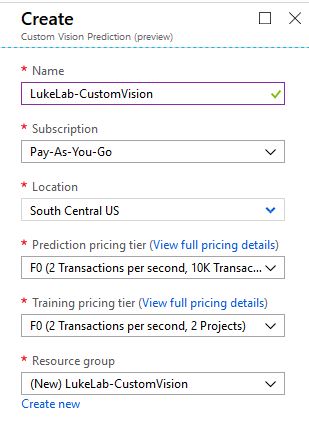
We will name our new resource LukeLab-CustomVision. Fill out the information for pricing, location, and resource group. Make sure you read up on how the pricing works, it is calculated based on how much you use the API. Click Create when done:
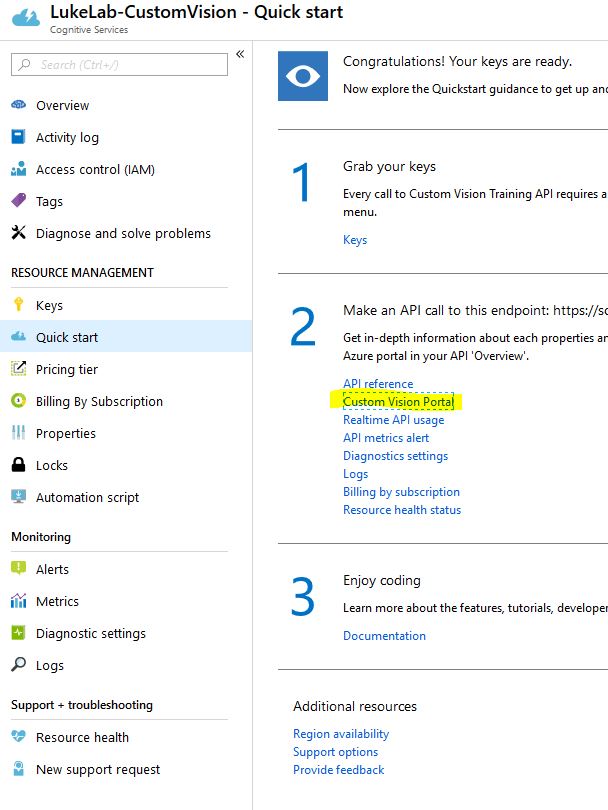
Wait a little bit for the resource to finish deploying. Once we are all set we can now start training our API to classify images of our server racks. Navigate to the resource and select the Custom Vision Portal option under Quick Start:
Now click the Sign In button and we will be navigated to the custom vision web page:

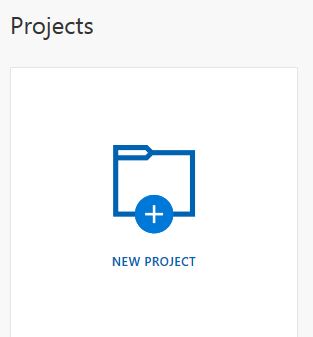
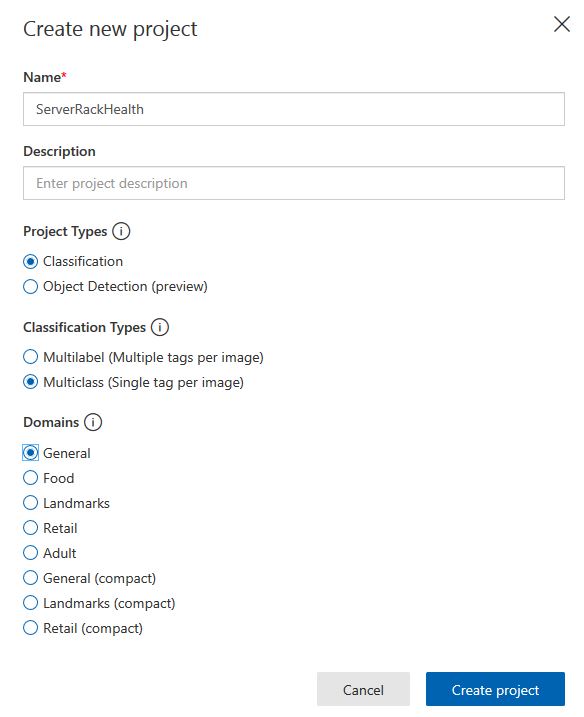
Let’s get set up with a new project, click New Project:
We will call our project “Server Rack Health” and set the project type to Classification as we want to look at a picture and classify it as something. Since we just want to classify each image as either good (organized and neat rack) or bad (messy cabling and needs cleanup) we will choose the Multiclass setting. Now we can select Create Project:
Training Our API
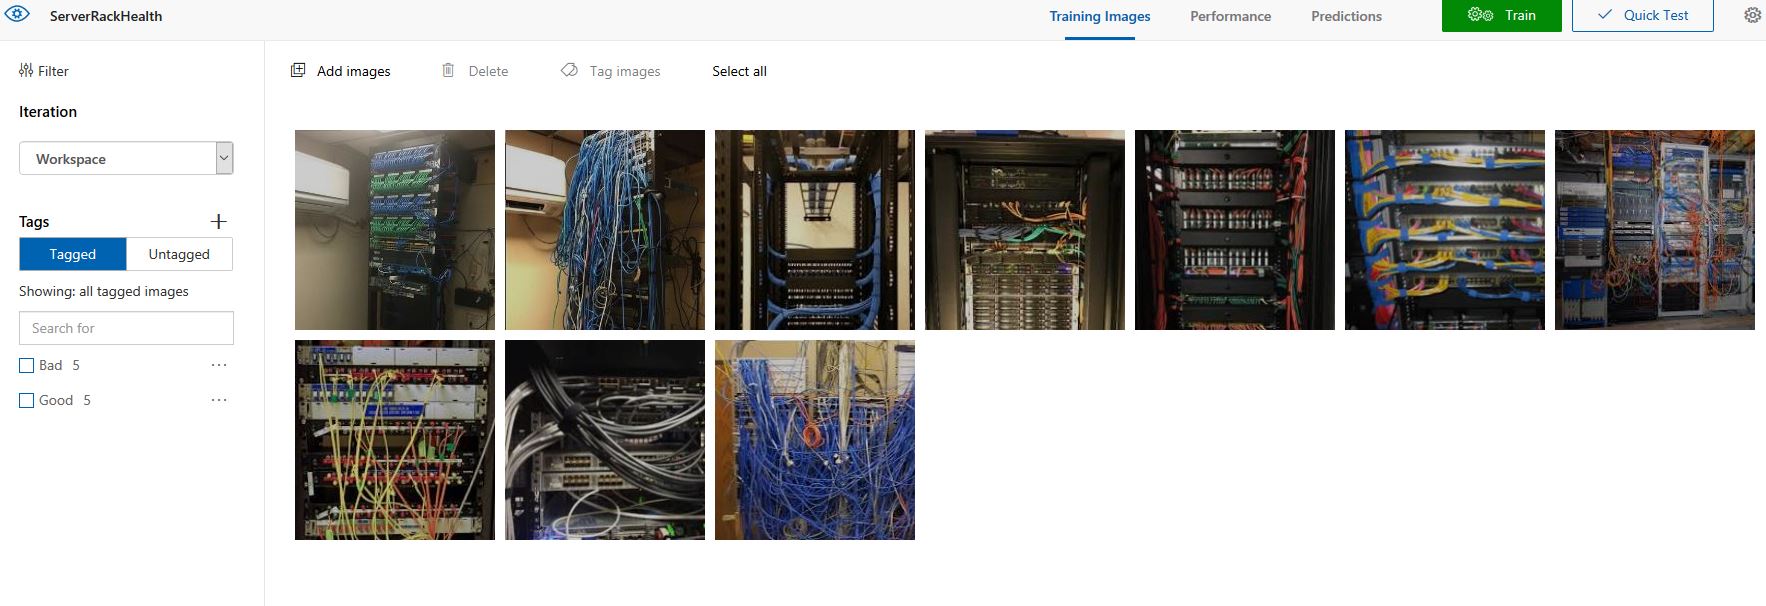
Now that we are all set up, we can begin uploading pictures and training our classifier to detect a messy server rack. The more pictures uploaded, the more accurate the prediction will be. I’m not going to go into detail on the classifier because that would need an entire post in itself, but I recommend checking out this guide for more information on how to train your classifier.
What I have done is upload ten pictures and classify them as either good or bad. Then, I have trained the classifier to determine which pictures contain a good rack or a bad rack:
Using the Custom Vision API in PowerShell
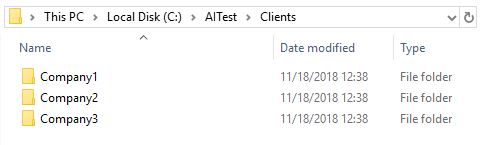
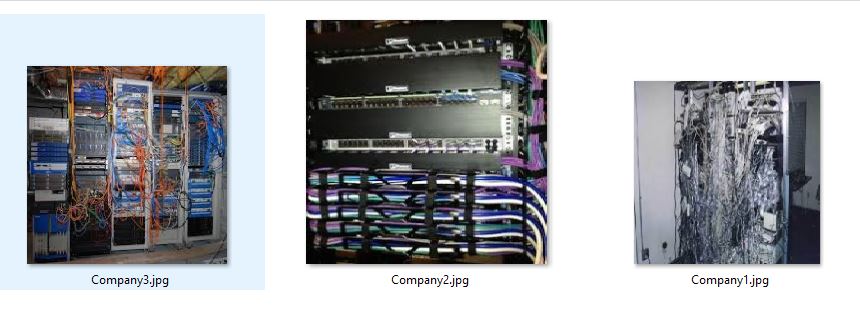
So now that we have our classifier trained. We have our folder set up with 3 client-server rack pictures:
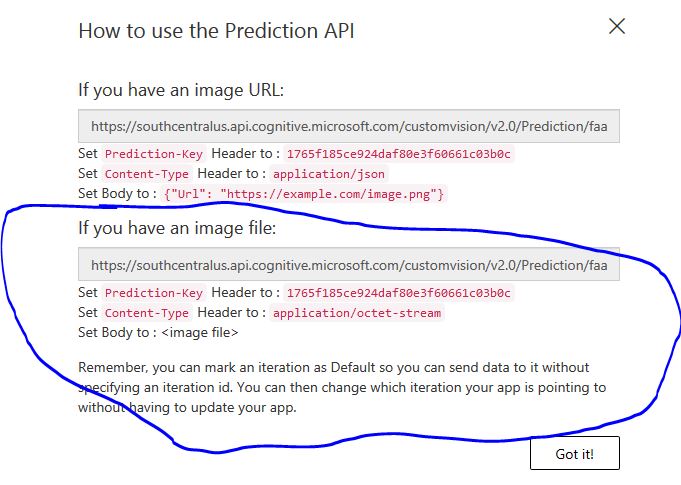
Now we can use PowerShell to upload each photo to our Custom VIsion API to analyze the image and classify it as “good” or “bad”. To do this we need a few keys from our Custom Vision Resource and Azure makes it extremely easy to get this information. Select the Performance tab of our classification that we made on the Custom Vision Web Page. Then click on the Prediction URL to get our keys:

There are two different sets of URL’s one is for if we are analyzing images on the web (which could be amazing for analyzing pictures across the internet) the other, which we are using, is for uploading an image from a file on our computer to the API. So we will save the info from the second group:
Now comes the magic, we need to establish our keys in our code first in order to properly communicate with the Custom Vision REST API, so we will set the following variables:
$header = @{'Prediction-Key'= '1765f185ce924daf80e3f60661c03b0c'}
$url = "https://southcentralus.api.cognitive.microsoft.com/customvision/v2.0/Prediction/faa8a0a3-2a36-46d0-b3d0-3a661712a59f/image?iterationId=4489e653-85bd-4da8-bc92-a647efa83eb0"
$Method = "POST"
$ContentType = "application/octet-stream"
Since all these variables will be used as parameters, let’s clean it up a bit and split them:
$properties = @{
    Uri         = $url
    Headers     = $Header
    ContentType = $ContentType
    Method      = $Method

}
Now we will collect all of our image files in our “clients” folder. In our case, the server rack pictures are all .jpg files. So I’m using the Where-Object cmdlet to grab any .jpg files in our “clients” folder:
$photos = Get-childitem "C:\AITest\Clients" -Recurse | where-object {$_.name -like "*.jpg"}
Lastly, we can create a ForEach loop to run through each picture in our $photos variable and upload each image to the Custom Vision API which then analyzes the image and classifies it according to the classifier that we built in the previous steps. I would also like the script to return the full name of the image as well as the prediction result:
Foreach($picture in $photos) {
$info = (Invoke-RestMethod @properties -InFile $picture.FullName).predictions
$picture.FullName
$info | Sort-Object -Property probability | Select-object -ExpandProperty TagName -Last 1
}
When we run the ForEach Loop, we get our file name and prediction:
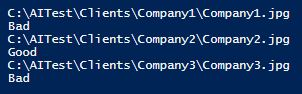
As we can see, the Custom API did a great job with classifying each rack:
If we wanted to, we could take our script a step further and automate the process of emailing each client with a picture of their server rack and explain the new MSP “Server Rack Cleanup” offering. This is just a simple example of what types of feats can be done when utilizing artificial intelligence with our PowerShell scripts.
As AI services like these get more and more advanced, we will start to see more of an appearance of AI in the IT workspace. Managed Service Providers that are able to find these “niches” that utilize AI will be able to assist their clients and provide services on another level compared to their competitors.


Not a DOJO Member yet?
Join thousands of other IT pros and receive a weekly roundup email with the latest content & updates!
More in this category


About the Author

Luke Orellana

