Save to My DOJO

Table of contents
- Introducing the Certification Authority MMC Snap-In
- How to View Certificates the Certification Authority has Issued
- How to Export or View a Certificate’s Binary Data
- Manually Accepting a Request from a CSR File
- How to Revoke a Certificate
- How to Unrevoke a Certificate
- How to Backup the Certification Authority
- Daily Usage of Your Certification Authority
In previous articles, you saw how to create a multi-tier PKI deployment. You then saw how to set up certificate templates to simplify certificate request operations. After that, we worked through some examples of requesting certificates. In our final installment, we will cover the common operations of a certification authority. You will learn how to view current certificates and revoke them. We will also demonstrate manual approval of pending certificate requests.
Introducing the Certification Authority MMC Snap-In
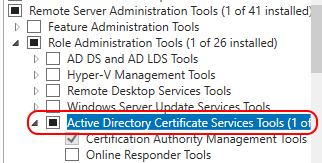
Most everything you see in this article will happen inside the Certification Authority MMC snap-in. If your certificate server runs on a full GUI installation of Windows Server, you should already have this tool. It can run from any system that has the necessary Remote Server Administration Tools installed.
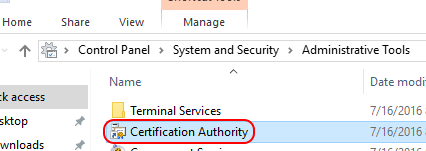
The Certification Authority snap-in appears in the Administrative Tools folder:
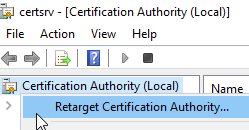
If you run the tool from any system other than the certification authority, or if you would like to target a different authority, you can retarget the snap-in. Right-click on the Certification Authority root object and click Retarget Certification Authority and it will present you with the standard dialog to browse for the target system.
Once connected, the targeted authority will have five subfolders:
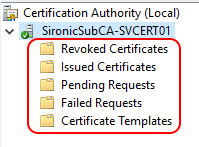
Of the five folders, we already worked through the Certificate Templates branch in a previous article. We’ll look at the others in this post.
How to View Certificates the Certification Authority has Issued
In the Certification Authority snap-in, click on the Issued Certificates branch. You will see a list of every still-valid certificate issued by the authority.
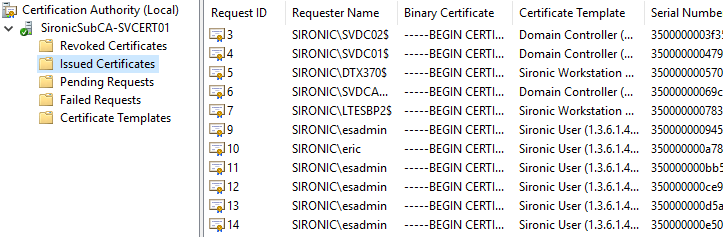
Each item contains these columns by default:
- Request ID: The CA numbers each request sequentially as it receives them. The number has no other significance.
- Requester Name: The name of the entity that submitted the request.
- Binary certificate: The encoded form of the certificate.
- Serial number: The serial number that the authority assigned to the certificate.
- Certificate effective date: The timestamp that began the certificate’s validity period. Corresponds when the CA issued the certificate.
- Certificate expiration date: The timestamp that represents the end of the certificate’s validity period.
- Issued…: The remaining columns contain various ancillary details about the certificate holder.
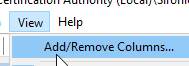
You can switch the visible columns by going to the primary menu and click View, then click Add/Remove Columns.
You can choose the columns that you want from the dialog:
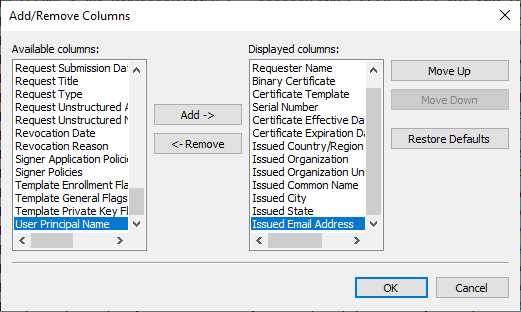
These column selections matter if you want to export binary data, which I will cover in an upcoming section.
If you’re looking for a particular certificate or category, you can sort the list by clicking any of the columns.
Viewing an Issued Certificate
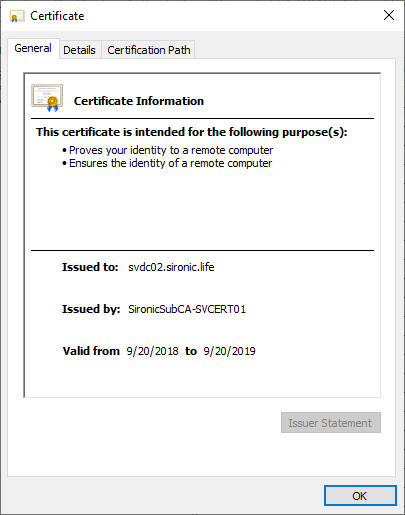
If you double-click or right-click on any certificate and click Open, you get the same view on the certificate as you would in any of the other certificate MMC snap-ins:
Alternatively, you can right-click on the certificate, go to All Tasks, and click View Attributes/Extensions, you can see additional information, with some overlap:

How to Export or View a Certificate’s Binary Data
The Certification Authority MMC contains a graphical front-end for the certutil.exe -dump command. You can see the binary form of the certificate or any of its components. Right-click on a certificate, navigate to All Tasks, and then click Export Binary Data. Despite the text on the menu, you can get the information in text format. Choose the item to export and the format that you want.
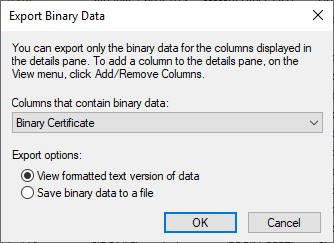
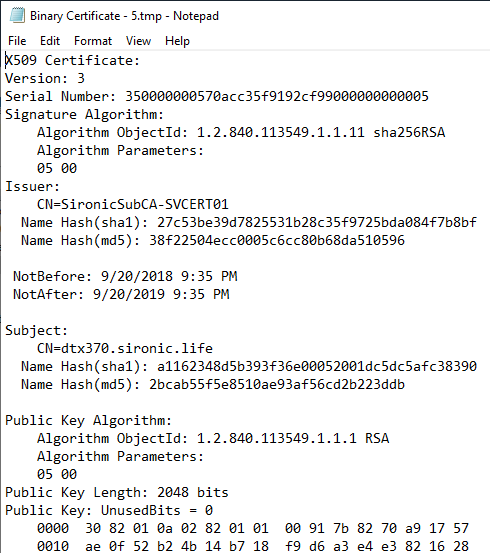
If you really want binary data, use that option. It will prompt you to save a file. If you want to see the same information that certutil.exe -dump would present, choose to View formatted text version of data. After you pick the object that you want to see, it will show the requested data in a Notepad window:
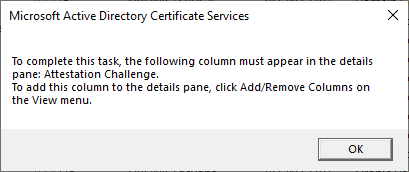
Earlier, I mentioned that you might need to adjust the visible columns in order for some of these choices to function.
You can use these options if you have any need for a certificate’s data in binary format.
All options work in the other branches (Revoked, Pending, and Failed).
Manually Accepting a Request from a CSR File
You have many options for requesting a certificate. You can use the advanced option in the MMC Certificates snap-in to create a custom request, which will generate a request file. You can use the certreq.exe tool. You can use openssl to create a request from/for any system. All of these techniques create a file, known as a Certificate Signing Request (CSR). You can use the Certification Authority MMC to manually approve these files.
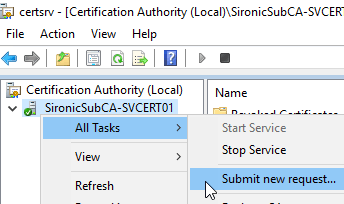
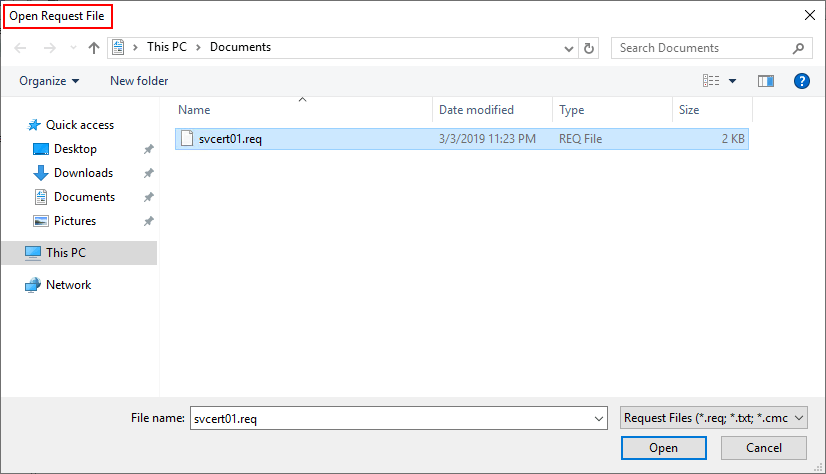
- Right-click on the server, go to All Tasks, then click Submit new request.
- Browse to the CSR file.Be careful as you will immediately get another browse window, covered in step 3. Note the title bar.
- Unless the CA detects a problem with the request, it will immediately issue a certificate and prompt you to save the file.
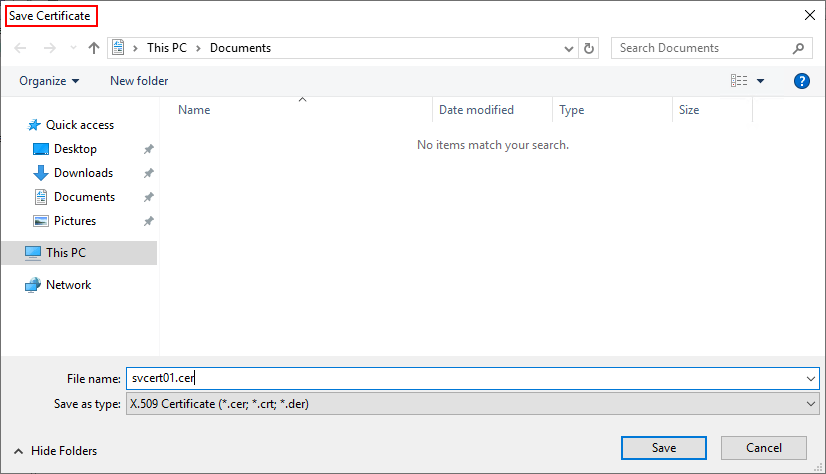
- You can use the generated certificate file as needed on the target system.
Once the CA accepts the request, it immediately issues the certificate. Even if you cancel the process prior to saving the output, the CA will place the certificate in the Issued list. You can open any certificate from there and use the Copy to File button on the Details tab if you need to export the certificate again.
If you did not configure your server to automatically issue certificates, the CA will place any requests that it receives under the Pending Requests branch. I did not configure my server that way, so I can’t show you. You can manually respond to certificate requests in that branch.
How to Revoke a Certificate
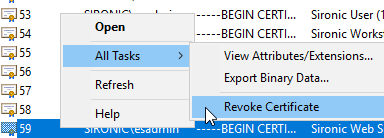
If a certificate has been compromised or you have another reason to remove it from circulation, right-click on it in the Issued list, go to All Tasks, then choose Revoke Certificate.
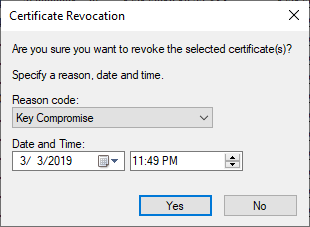
The interface will ask you for a reason code and a timestamp. That allows you to backdate the revocation to a point in time close to a compromise incident, if necessary. If you choose the Certificate Hold reason, you will can reverse the revocation later.
The CA will immediately move the certificate into the Revoked Certificates branch and update its Certificate Revocation List (CRL).
How to Unrevoke a Certificate
You can reverse the revocation of a certificate, provided that you revoked it for the Certificate Hold reason. Find it in the Revoked Certificates branch. Right-click on it, go to All Tasks, and click Unrevoke Certificate.
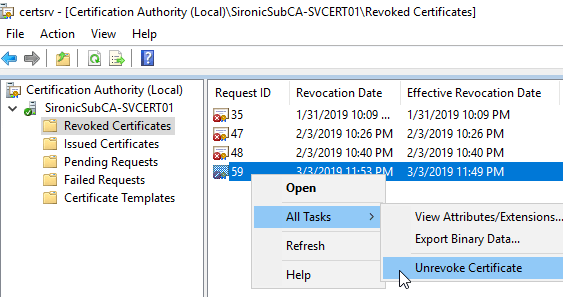
The certificate will immediately return to the Issued Certificates list.
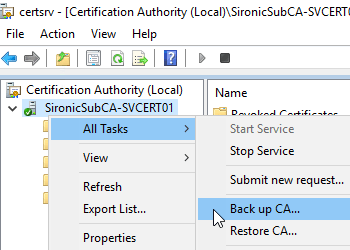
How to Backup the Certification Authority
For ordinary backup purposes, you can backup and restore the owning system like any other Windows Server installation. If you intend to move the CA to a different system, you need to use the CA’s built-in tools.
You will find the backup and restore options on the All Tasks submenu of the server:
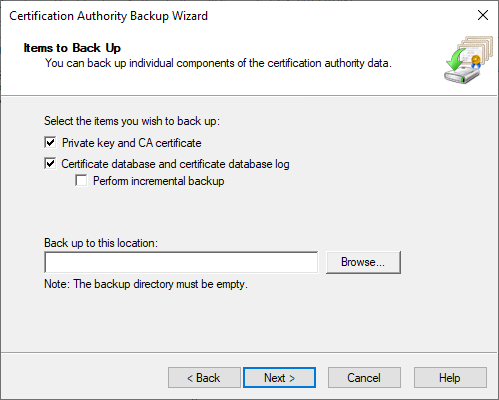
The Certification Authority Backup Wizard
The backup wizard:
- The first window is just introductory text.
- Choose the components of the CA to backup. For a full restore, you need the private key, CA certificate, the database, and the log. Browse to the output location, which must be an empty directory.
- You will need to lock the backup files with a password:
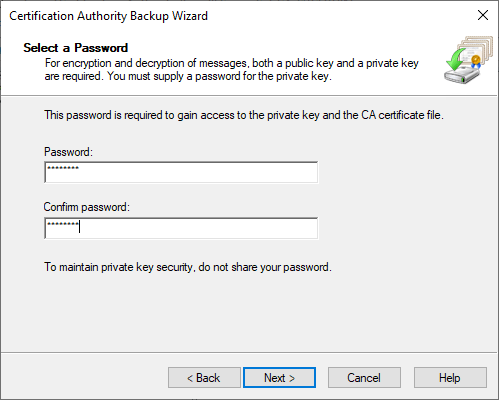
- On the last screen, just click Finish to have the files created.
The Certification Authority Restore Wizard
The restore operation typically involves a normal restore of the Windows Server system. You will normally only use the wizard in the Certification Authority for migrations. It is essentially the same as the backup wizard.
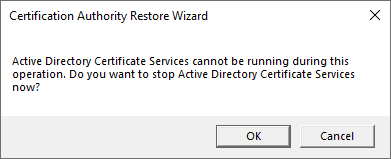
- It will tell you that you must stop the CA in order to proceed with the restore.
- The first screen is only informational.
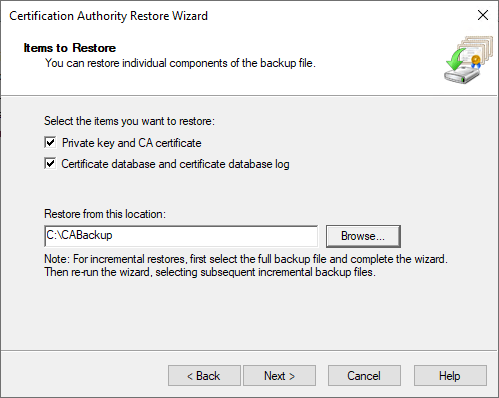
- Select the items to restore, and select the folder where the wizard can find the files:
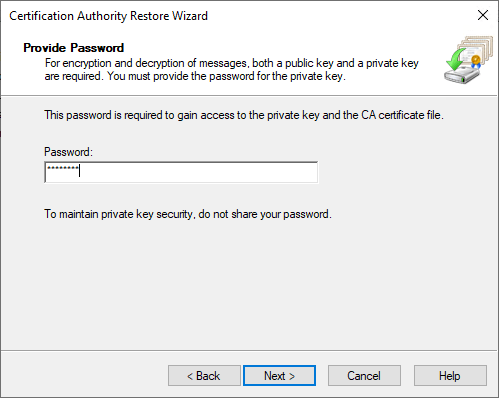
- Enter the password that will unlock the files.
- Click Finish on the last screen.
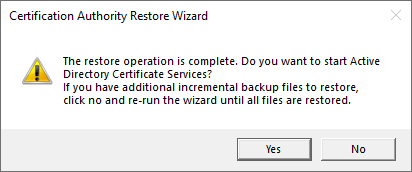
- You will get a prompt that will allow you to start the CA. If you have additional files to restore as part of an incremental backup, click No to leave it offline.
Daily Usage of Your Certification Authority
For the most part, CAs maintain themselves, especially if you used an Active Directory-integrated installation. The preceding instructions should carry you through most other situations.
We’ve now worked through the Windows PKI certificate system. With a system this easy to use and configure, you should make the move into a more secure Windows environment sooner rather than later. We will call on these skills in later articles around Hyper-V Replica and Shielded Virtual Machines.


Not a DOJO Member yet?
Join thousands of other IT pros and receive a weekly roundup email with the latest content & updates!
More in this category


About the Author

Eric Siron


47 thoughts on "Windows Certification Authority: How to View, Revoke, and Approve"
Hi Eric,
Thank you for your useful information. I have actually configure wireless and wired authentication for all the domain computers. They are authenticated to access internet based on CA cert. I have enable the auto enrollment policy but it won’t delete the certificates from the domain computer when i revoked the device certificate from CA Server. Do you have idea for this?
It’s not supposed to delete revoked certificates. The only time that it should ever remove a certificate from a domain machine is when the certificate is that of a trusted CA that you have removed from the trusted list.
I have not investigated to see if there is a built-in way to remove revoked certificates. Your solution in this case is to set whatever device makes the go/no-go decision for Internet access to base its decision on whether a client device presents a fully certificate (which includes being not marked as revoked by the CA). If you only depend upon the existence of a certificate, then your trust method is easily bypassed.