Save to My DOJO
So, I recently got down to the business of downloading the ISO installer images for both ESXi and vCenter Server 6.5. I was curious to experience firsthand how easy, or difficult, it would be to upgrade any of the vSphere components be it ESXi, vCenter Server or a Platform Services Controller (PSC).
In this post I’ll show you how, using the Windows installer, I upgraded an external Platform Services Controller (PSC) deployed in my testing environment which also includes two vCenter appliances (VCSA) in enhanced linked mode and three ESXi hosts all running version 6.0 U2. The reason I chose to upgrade the PSC is that given my setup, the PSC is the component that must be upgraded first, immediately followed by vCenter with the ESXi hosts left for last.
Figure 1 illustrates the vSphere 6.5 upgrade workflow which I gently reproduced from the VMware vSphere 6.5 documentation website.
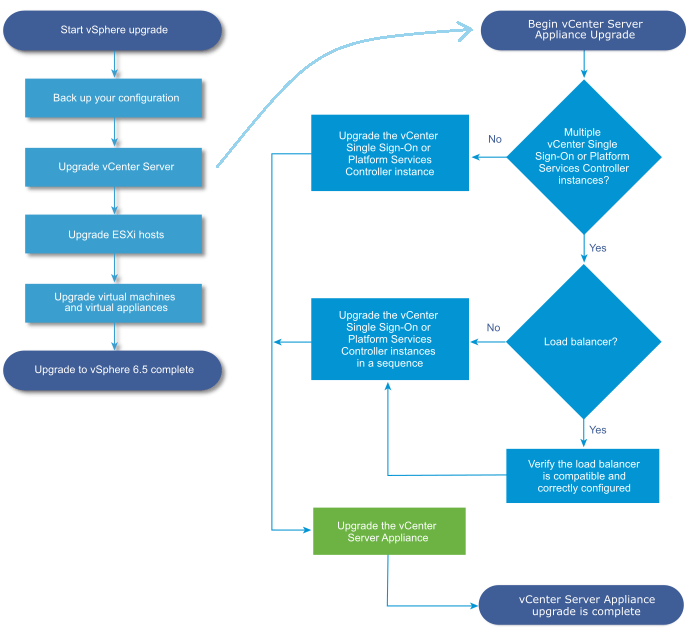
Figure 1 – vSphere 6.5 Upgrade Workflow (Source: VMware)
Migrating to fairer pastures
The upgrade process is in fact a 2-part migration affair by which I mean that it is not an in-place upgrade.
The first stage of the process creates a new VM that will become the new PSC. Subsequently, data from the source PSC is cloned over to the new PSC during the second stage. I suspect that the reason for this is in part due to the fact that both PSC and VCSA 6.5 are now running on VMware’s proprietary Photon OS as opposed to SUSE Server.
I’ll be using the term appliance in reference to both a PSC and a VCSA. At the time of writing I have still to upgrade a VCSA. However, I imagine that the process will be pretty much the same. If this turns out not to be the case, I’ll do another post covering the VCSA upgrade process.
I’m going to spare you (and myself) most of the hardcore details and jump straight to the upgrade process.
A few gotchas
Before starting know that;
- VCSA / PCS 6.5 can only be hosted on ESXi and vCenter Server 5.5 and later.
- If the appliance that you are upgrading uses a non-ephemeral distributed virtual port group, the port group is not preserved. After the upgrade, you can manually connect the new appliance to the original non-ephemeral distributed virtual port group of the old appliance.
- The minimum RAM requirements have increased since v6.0 these being;
- PSC – 4GB
- VCSA – 10GB
- The storage requirements have changed as well;
- PSC – 60GB
- VCSA – 250GB (Default storage size)
- A number of required network ports must be accessible.
- The PSC/VCSA DNS names can be resolved when the appliance is assigned temporary network settings.
- IPv6 settings are not be preserved during the migration process.
- Annotations for the VM are not preserved after the migration. It’s not really a biggie but worth mentioning nevertheless.
Note: Prior to the upgrade, I took snapshots of the PSC and VCSAs and even exported the whole lot to OVF just in case. It really doesn’t hurt to be prepared.
Stage 1 – Deploy the OVA File of the New Platform Services Controller Appliance
The only assumption I’m making here is that you have already downloaded the VCSA ISO image from the VMware site. If not, head to my.vmware.com and download an evaluation copy. You should also keep in mind that this procedure does not apply to vCenter Server for Windows.
Without further ado …
1) In Windows, mount the ISO DVD and navigate to \vcsa-ui-installer\win32. If you prefer you can simply extract the ISO contents to a folder instead.
2) Run installer.exe,
3) Select upgrade as shown in Figure 2.
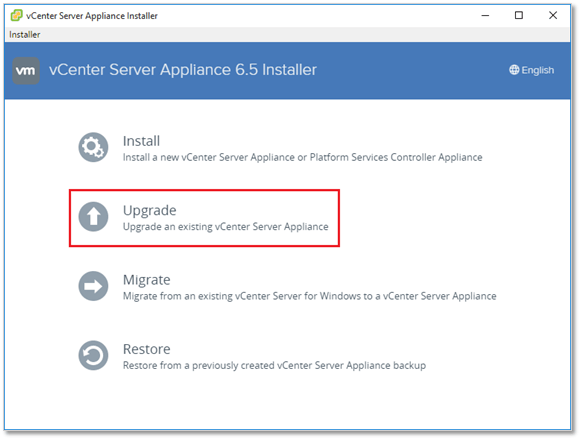
Figure 2 – The VCSA installer
4) Press Next to skip the Introduction screen.
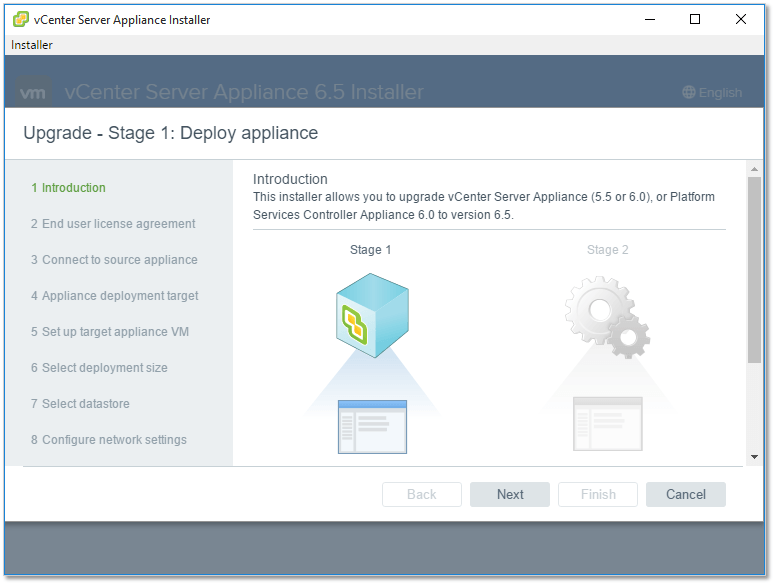
Figure 3 – The VCSA installer intro screen
5) Tick the box to accept the license agreement and press Next to continue.
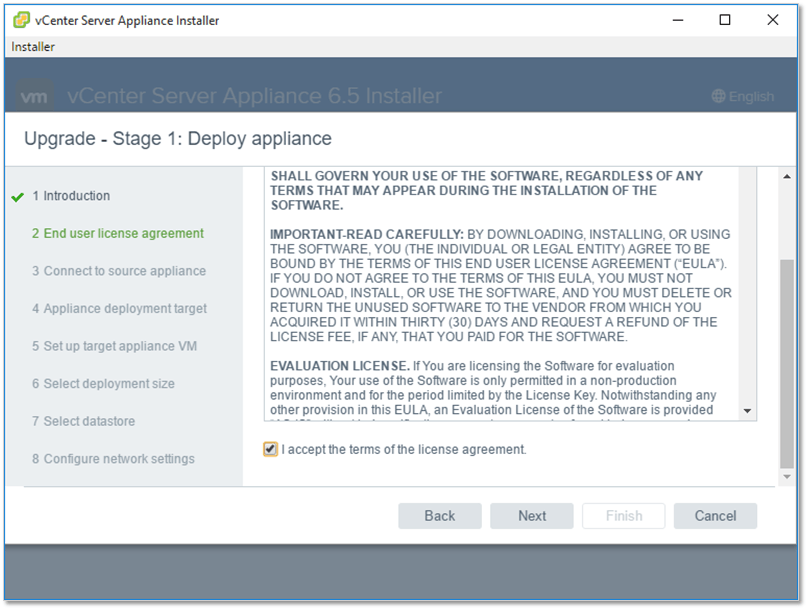
Figure 4 – Accepting the license agreement
6) This is where you type in the details for the appliance you’d like migrated. The data entry area is indicated by label 1. You will also need to provide the IP address or hostname, including credentials, for the ESXi host or vCenter Server hosting the source appliance. This is indicated by label 2. Press Next to continue.

Figure 5 – Specifying the details for the source appliance and parent host
7) Press Yes to accept the SSL certificate warning.
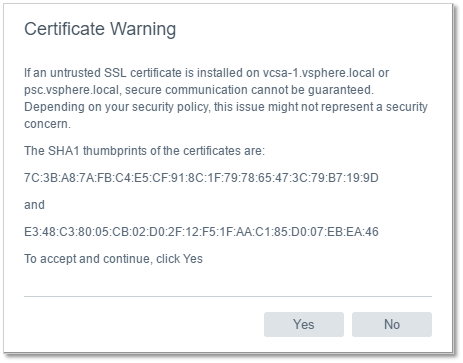
Figure 6 – Accepting the SSL certificate warning
8) Next, specify the ESXi host or vCenter Server on which the new appliance will be hosted. In this example, I’ll be using the same vCenter Server as before. Press Next to continue.
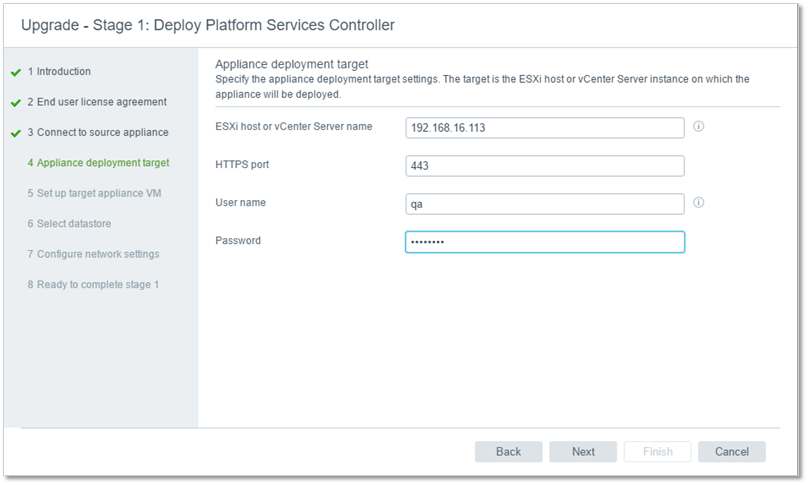
Figure 7 – Specifying where the new appliance will be hosted
9) Yet another SSL certificate warning. Press Yes to continue.
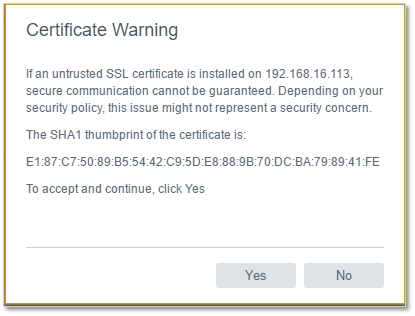
Figure 8 – Accepting the SSL certificate warning
10) Select the vSphere folder under which the appliance will be created. Press Next to continue.
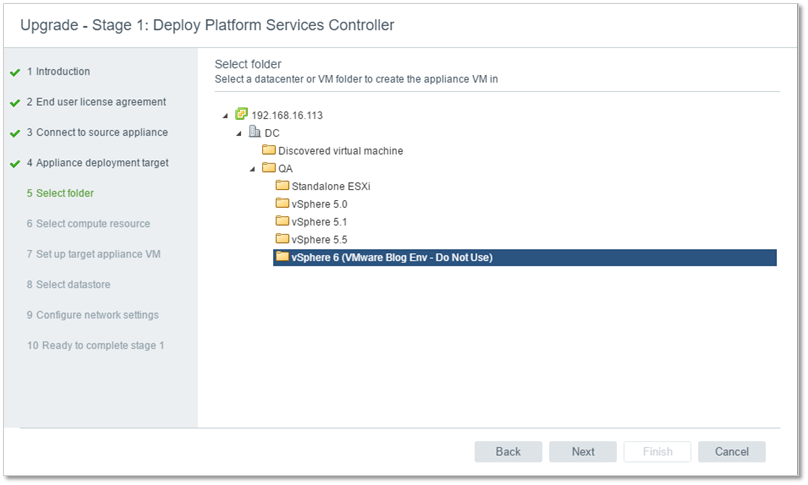
Figure 9 – Specifying the vSphere folder under which the appliance will reside
11) Select the ESXi host on which you want the appliance deployed. If a vCenter Center was specified as the target destination, you’ll probably see a number of ESXi hosts listed. In my case, I only have a single ESXi managed by vCenter Server. Press Next to continue.
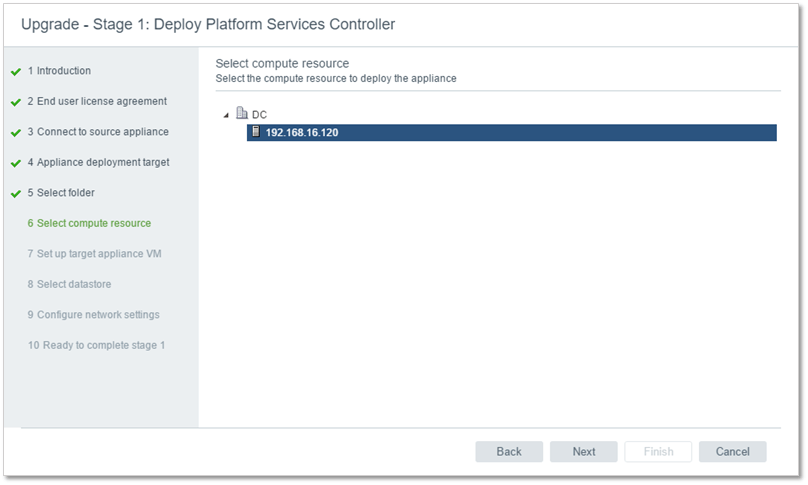
Figure 10 – Specifying which ESXi host the appliance will reside on
12) Next, type in the VM name and the root password for the appliance being created. Note that the VM name is what you listed in the inventory. I just need to clarify this point to avoid people confusing this with the appliance’s actual hostname. Press Next to continue.
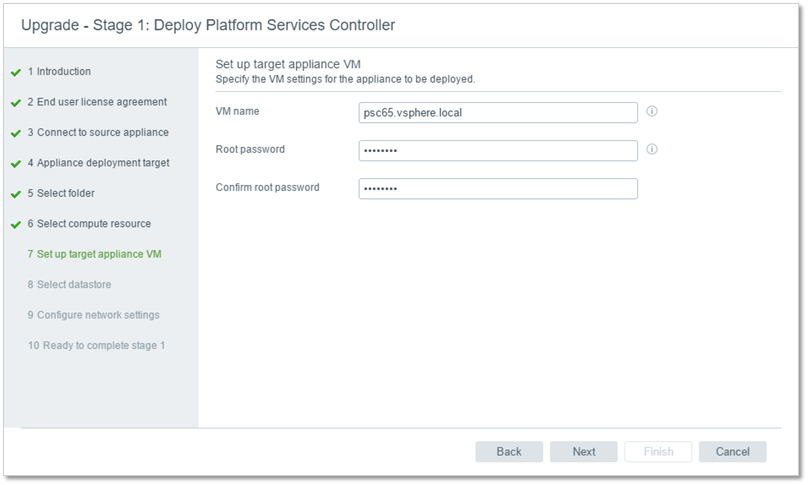
Figure 11 – Specifying the target appliance’s VM name and root password
13) Select the datastore where you want the new appliance created. If storage comes at a premium, make sure to tick the Enable Thin Disk Mode as shown. Press Next to continue.

Figure 12 – Selecting the datastore for the target appliance
14) On the next screen, type in the network details for the new appliance. Note that these settings are temporary and will be discarded once the migration process completes. Press Next to continue.
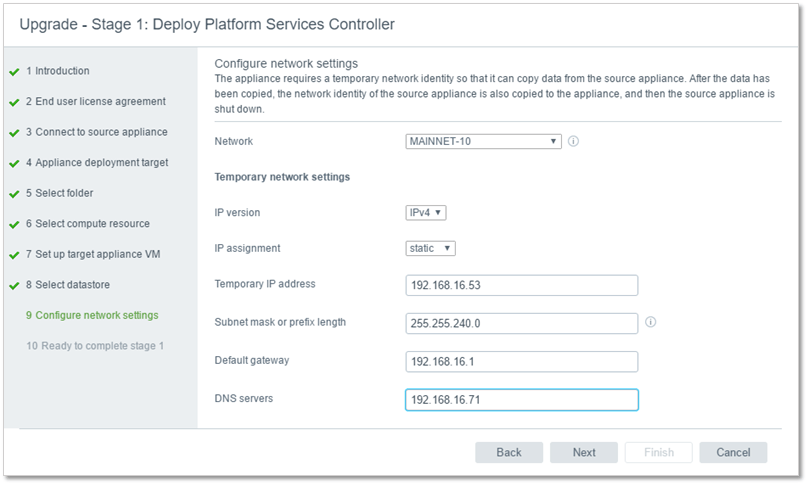
Figure 13 – Configure network setting for the new appliance
15) You can review the migration settings one last time before hitting Finish.
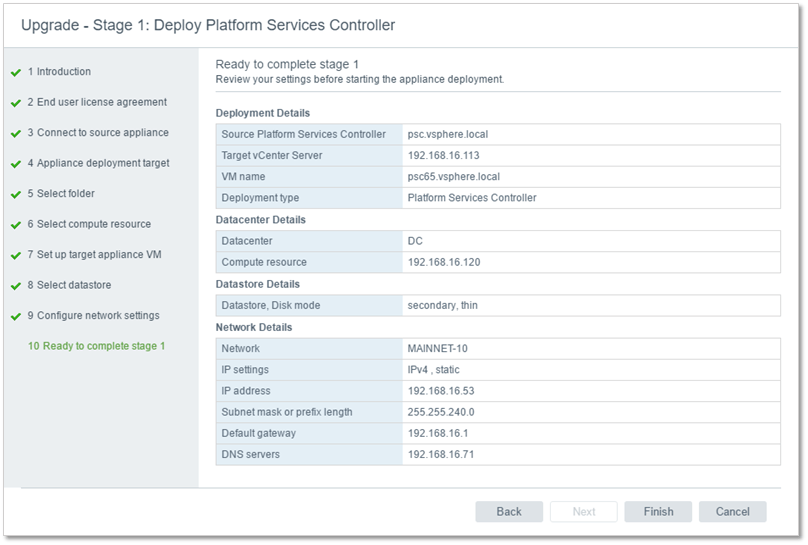
Figure 14 – Reviewing the installation settings
Screenshots from Stage 1
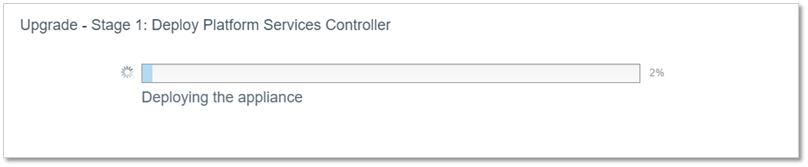
I’ve included some screenshots of a few Stage 1 processes. These include deploying the appliance, setting up storage and installing packages.


When Stage 1 completes successfully, you are presented with the screen in Figure 15. To be honest, I don’t know what happens if Stage 1 has to fail simply because my migration worked first time round which is very encouraging to say the least. Again, I should reiterate that mine is a test environment with very little activity so the overall process may not be so forgiving in light of complex production systems. Disclaimers and all, press Close to carry on to Stage 2.
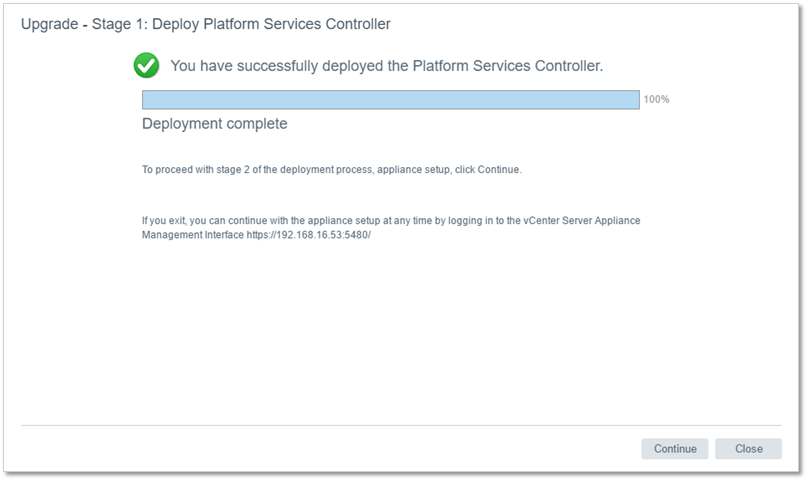
Figure 15 – Stage 1 from the migration process successfully completed
Stage 2 – Transfer the Data and Set up the Newly Deployed Platform Services Controller Appliance
When Stage 1 completes, the installer will proceed to Stage 2 of the migration process. This primarily involves the copying of data from the source appliance to the new one.
1) The first screen is an just a introduction to the process. Just press Next to continue.
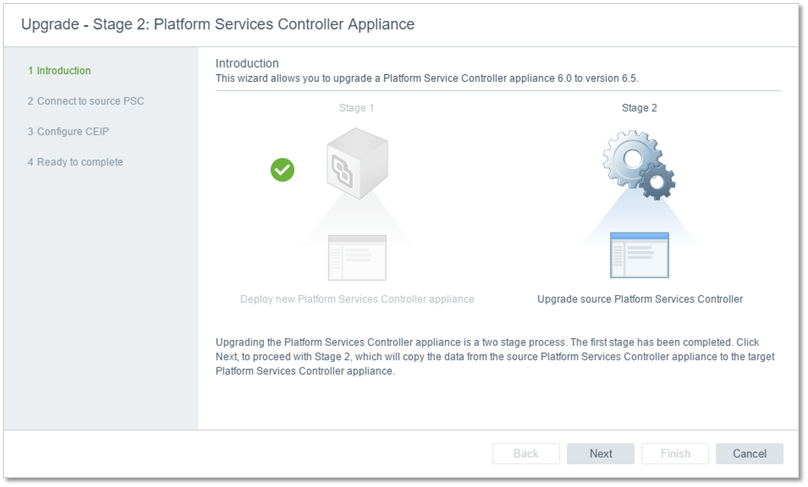
Figure 16 – Starting the stage 2 of the migration process
2) Following some pre-upgrade checks, such as ensuring correct DNS resolution, Figure 17 is next displayed. You can opt to join the Customer Experience Improvement Program by selecting the option at the bottom of the screen. Press Next to continue.
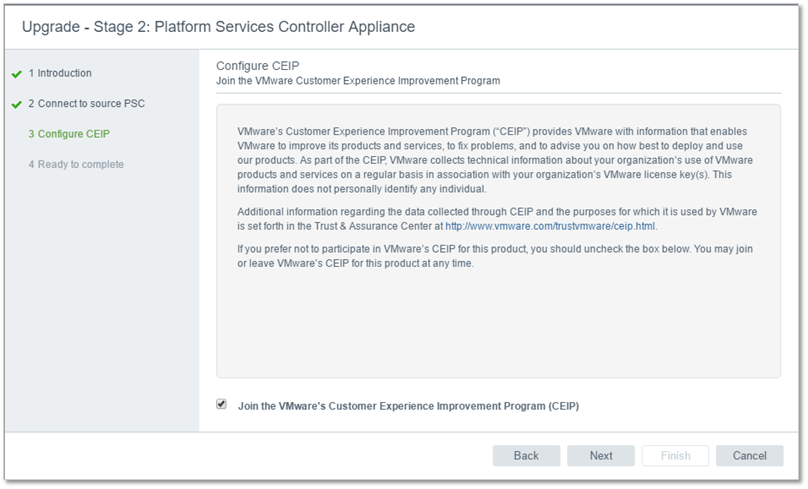
Figure 17 – Opting to join CEIP
3) A final summary is shown before kicking off Stage 2. There’s a mandatory check box at the bottom by which you will confirm that the appliance has been backed up. The installer will not proceed otherwise. Press Finish to proceed to Stage 2. You are also warned that the source appliance will eventually be powered down.
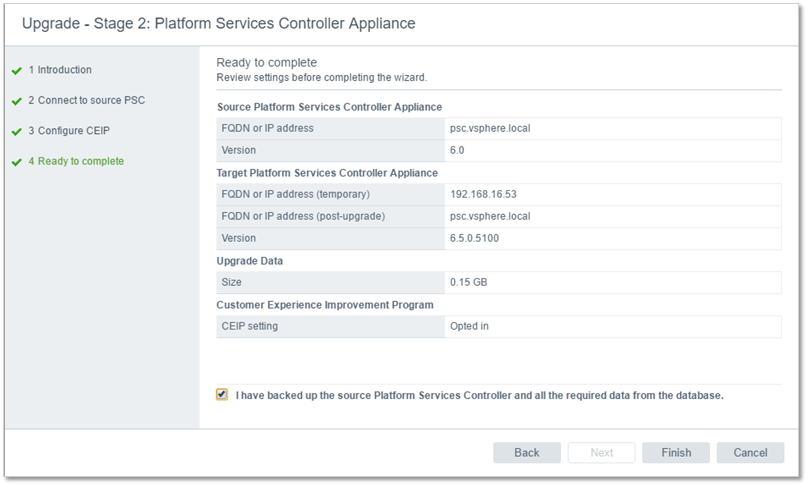
Figure 17 – Ready to kick off Stage 2
Figure 18 – Warning given when backup confirmation is ignored
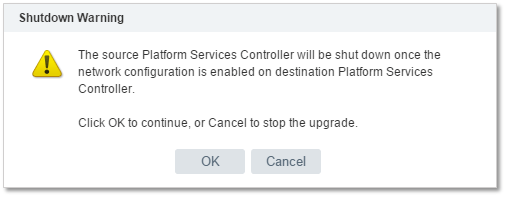
Figure 19 – The source PSC about to be shut down
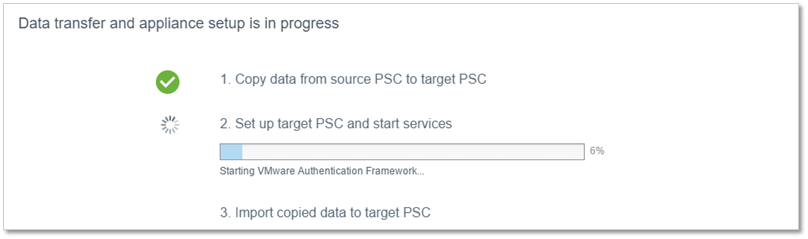
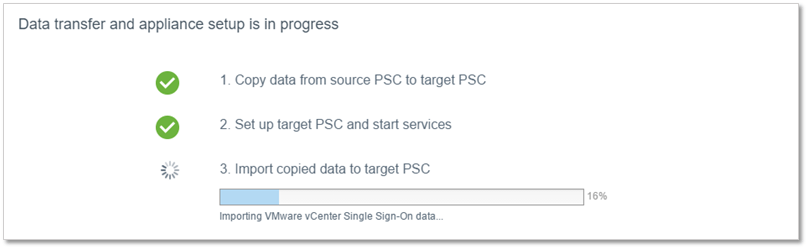
Screenshots from Stage 2
Similarly to Stage 1, here are a few screenshots from Stage 2.
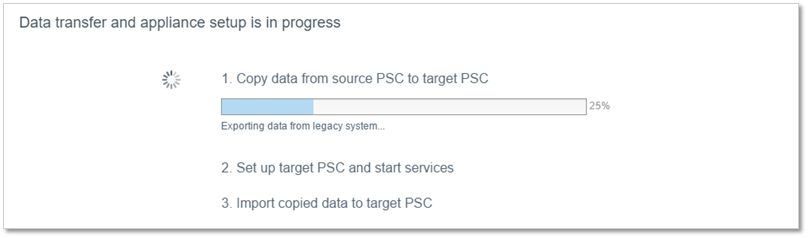
At this point, the source appliance is powered down.
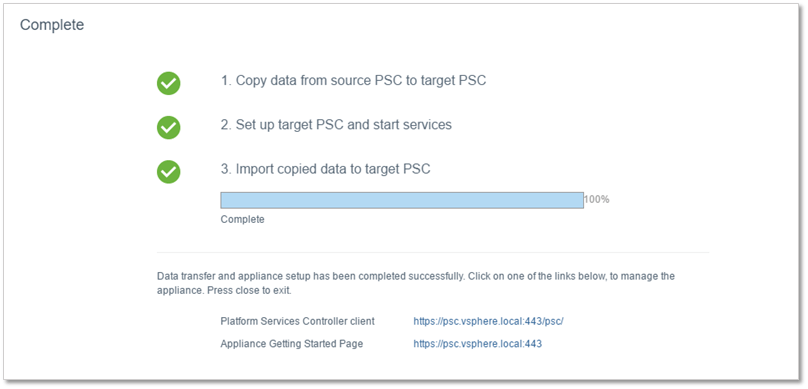
When clicking the Close button (omitted in the screenshot above), the installer automatically launches the default browser (Fig. 20). I assume this is so you can verify that the migration was successful by carrying out basic checks such as logging in. As it happens, I logged in as I would normally do and everything seemed to be in order.
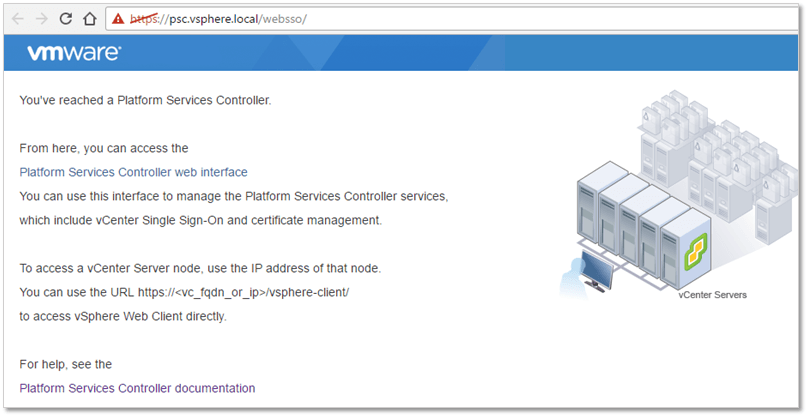
Figure 20 – PSC SSO landing page
The proof of the pudding was to see if I’d still be access any of the two linked VCSAs. This was indeed the case. I then went ahead and made sure that all the appliances’ services were healthy (Fig. 22), which indeed was the case as seen in Figure 22. I also created and vMotioned a couple of VMs just to test normal functionality.
So far I’m not seeing any issues, so I can safely assume that the migration process was a success.
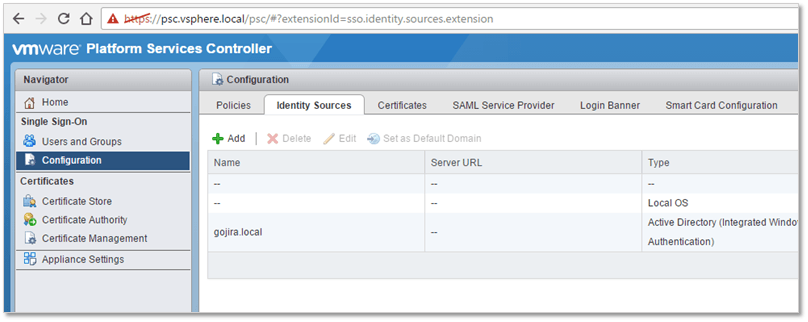
Figure 21 – Logging in to the PSC
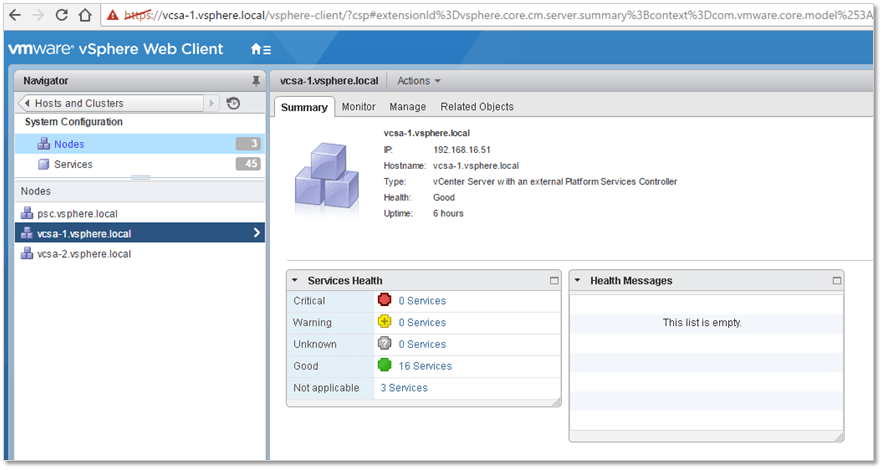
Figure 22 – Verifying that all services are marked as healthy
Conclusion
And there you have it, my first vSphere 6.5 component upgrade working like a champ. I honestly hope that anyone upgrading more demanding environments will enjoy the same plain sailing experience. With that in mind, I’m closing off this post while looking forward to testing and writing about my experiences with vSphere 6.5.
See you and as always thanks for sticking around.
[the_ad id=”4738″][the_ad id=”4796″]


Not a DOJO Member yet?
Join thousands of other IT pros and receive a weekly roundup email with the latest content & updates!
More in this category


About the Author
Jason Fenech


4 thoughts on "Upgrading to vSphere PSC 6.5 using the Windows installer"
followed you instructions…
work like a charm.
moved from microsoft server 6.0u3 to 6.5u1 embedded
Glad, I could be of help. Thanks for your feedback.
Jason