Save to My DOJO
Table of contents
In part 2 of this series, I’ll cover how to install ESXi 6.0 on the shell VMs created in Part 1. The installation steps given here remain the same regardless of installing ESXi as a nested hypervisor or on a bare metal server.
UPDATE: Since writing this series, vSphere 6.5 has been released. You can read about a few nesting related features exclusive to ESXi 6.5 here as well as how to install this new release here.
Installing ESXi
Remember that, as if often the case with many VMware products, it is important to create DNS records (A and PTR) in advance more so the ones assigned to ESXi hosts and vCenter Server. This lessens the chances of coming across SSL certificate issues and improves management of the overall infrastructure. In this section, I’ll take you through the process of installing ESXi on the VMs prepared in Part 1.
Step 1 – Switch to the VMs and Templates view. From the NestedESXi folder, power on the ESX6_1 VM. To power on a VM, use the Power On button from the toolbar, highlight the VM and press Crtl-B or right-click on it and select Power -> Power On.
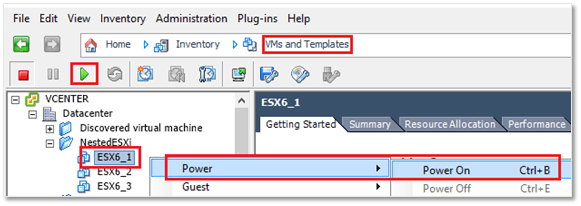
Powering on the ESXi shell VM
Step 2 – When you switch the Console tab, you’ll see the VM trying to PXE boot followed by a probable Operating System not found error. This is expected since there is no VM guest OS installed as yet and I am also not running any PXE related service on my network.
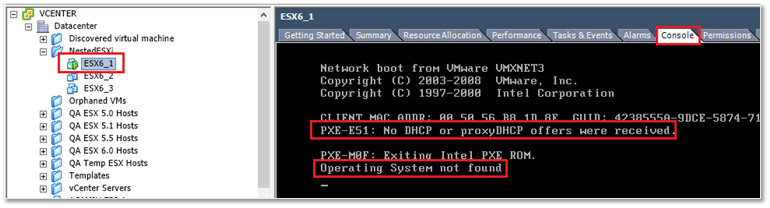
A VM returning a missing operating system error since no guest OS has been installed
Step 3 – Mount the ESXi ISO image on the VM. To do so, click on the CD/DVD Connections button and choose Connect to ISO image on local disk. If you uploaded the ISO image to a datastore, select Connect to an ISO image on a datastore. In my case, I mounted the ISO image from a local folder on my computer.
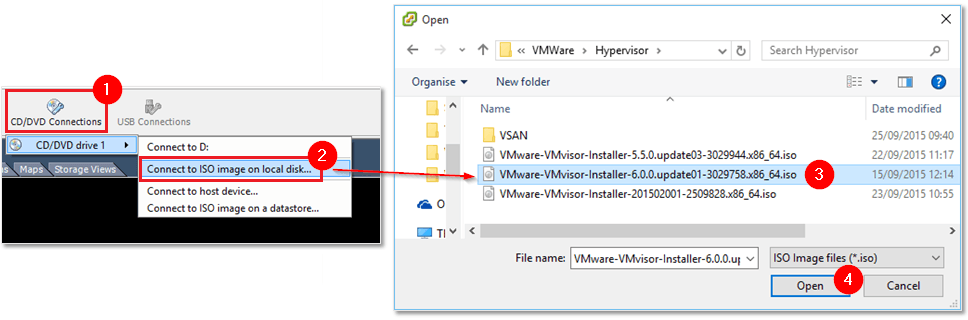
Mounting an ISO image as CD/DVD media on a VM
Step 4 – Click inside the console window. The mouse pointer will disappear. Press Ctrl-Alt-Insert to reboot the VM. You’ll see the VMware logo displayed followed by the ESXi installer boot-up screen.
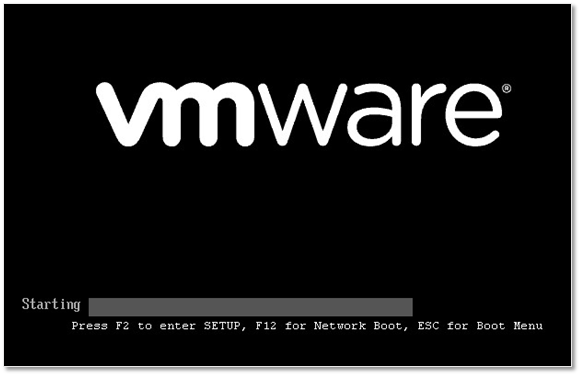
Step 5 – Press Enter to load the ESXi installer. The required binaries are loaded in the course of the next 2 minutes or so.
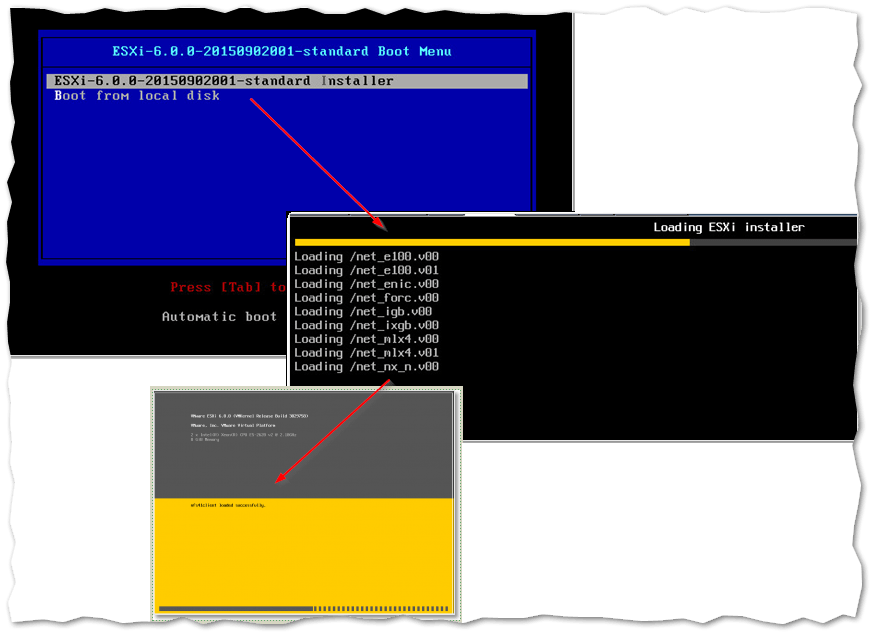
Running the ESXi installer
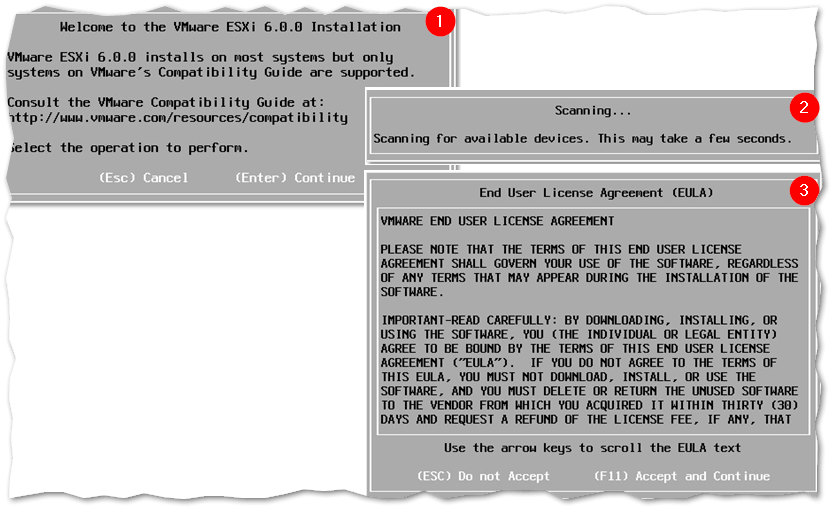
Step 6 – Press Enter to kick off the ESXi OS installation. A device scan is carried out after which are prompted to accept the EULA. Press F11 to accept it and proceed to the next screen.
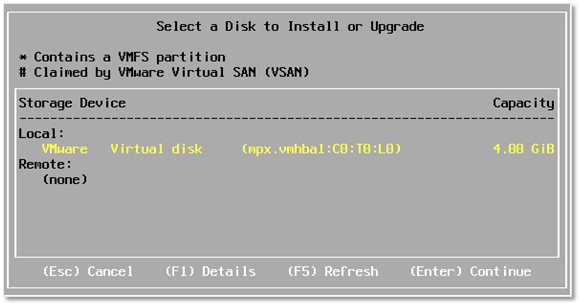
Step 7 – Press Enter to select the disk on which ESXi is installed. Only one disk will be listed unless you specified more while creating the VM. Press Enter.
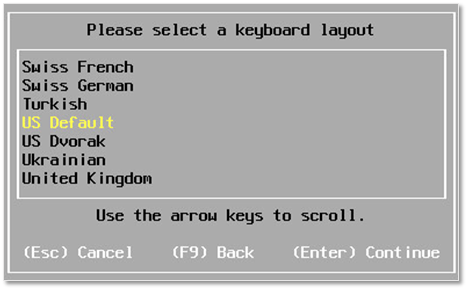
Step 8 – Select a keyboard layout. Press Enter to continue.
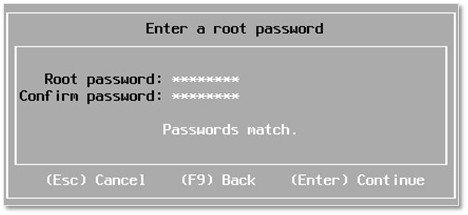
Step 9 – Here we need to set the password for the root account. Choose a strong password and write it down somewhere safe. Press Enter when done. Note: Use the arrow keys to alternate between the Root password and Confirm password fields.

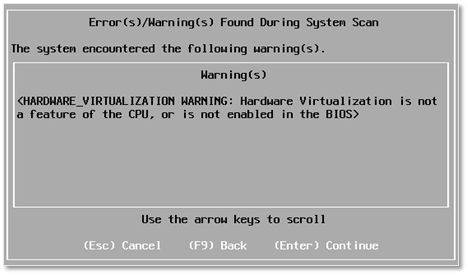
Step 10 – You can safely ignore the following hardware virtualization warning. Press Enter to continue.
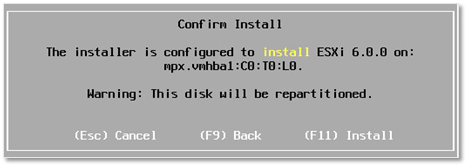
Step 11 – Press F11 to start installing the ESXi OS on the selected disk.

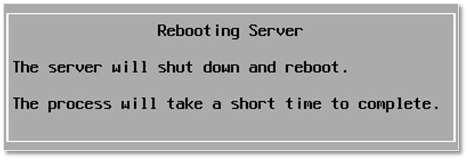
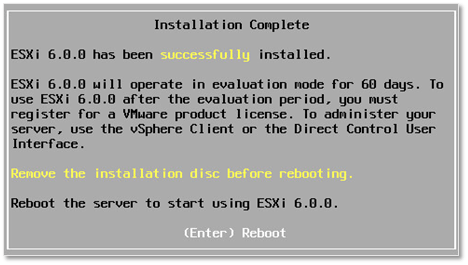
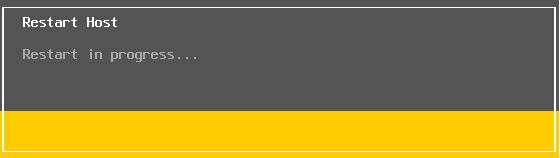
Step 12 – The installation takes only a handful of minutes to complete. Press Enter to reboot the VM once installed.
Note: The following steps will show you how set up networking on the ESXi host via the Direct Console User Interface (DCUI).
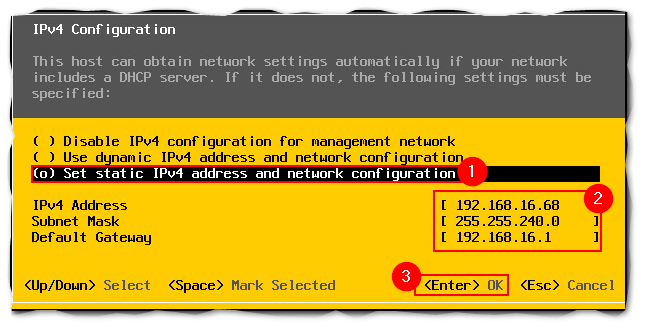
Step 13 – If a DHCP server is present on the network, ESXi will try and acquire IPv4 and IPv6 address from it. In my case, I opted for a static IPv4 address.

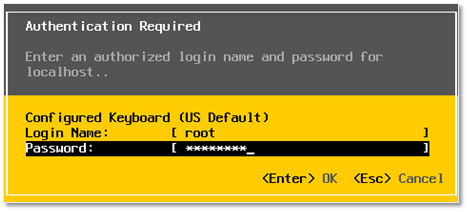
Step 14 – With the focus still on the VM’s console window (vSphere client), go ahead and press F2. Type in the root password you specified in step 9 and press Enter.
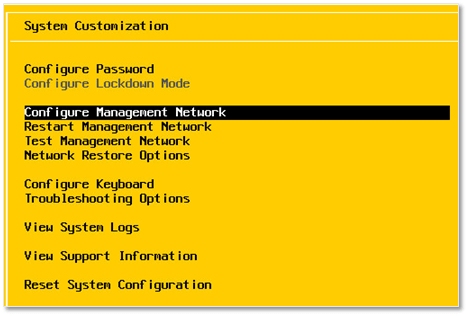
Step 15 – Scroll down to Configure Management Network and press Enter.
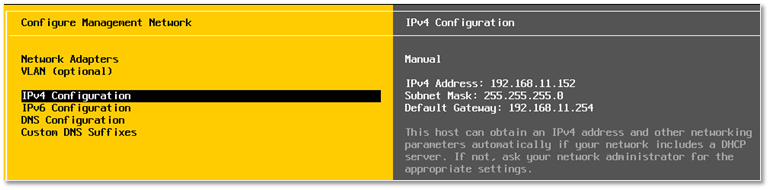
Step 16 – Select IPv4 Configuration to view the DHCP acquired settings. Alternatively, switch over to using a static IP address
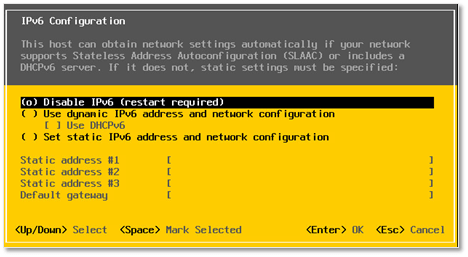
Step 17 – This step is optional. Select IPv6 Configuration and press Enter. I’ll be disabling IPv6 since I’m not using it. To do so, select the Disable IPv6 (restart required) option using the arrow keys and toggle the setting with spacebar. Press Enter to commit and return to the previous menu. Note: This becomes effective only after ESXi is rebooted.
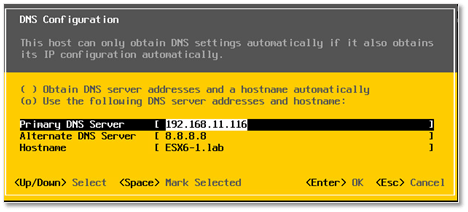
Step 18 – Next make sure that the DNS configuration is correct. In this example, I’ve manually entered the addresses for both the primary and secondary DNS servers. Select the DNS Configuration menu item and press Enter. Toggle on the Use the following DNS server addresses and hostname option and type in values for the primary and alternate DNS servers. Make sure the Hostname matches the DNS A record previously created. Press Enter to save the changes.
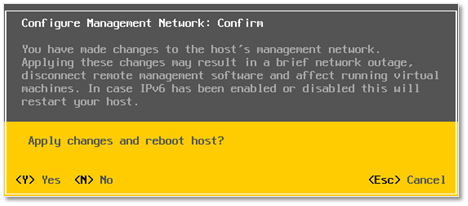
Step 19 – You’ll be prompted to reboot again if you disabled IPv6. Press Y to reboot.
And there you have it. Your first nested ESXi host should now be up and running. We could always clone the ESX6_1 VM and use it as a template for any future bested hosts we might need. This, however, requires a few changes using shell commands for it to work properly. I’m skipping this part as it is beyond the scope of this post but if you wish to learn more, here’s a good article on the subject.
In reality, it only takes a few minutes to install ESXi so personally I’d rather install the two remaining nested ESXi hosts from scratch.
Configuring ESXi
In this section, I’ll show you how to configure the ESXi hosts so you can start hosting VMs.
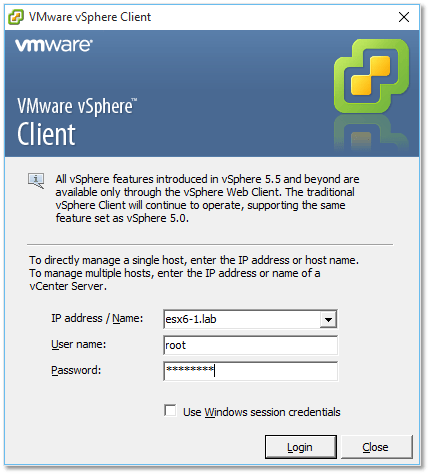
Step 1 – Using the vSphere client, log in as root. Same password as before.
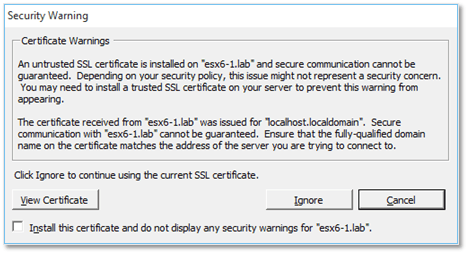
Step 2 – Press Ignore to acknowledge the certificate warning.
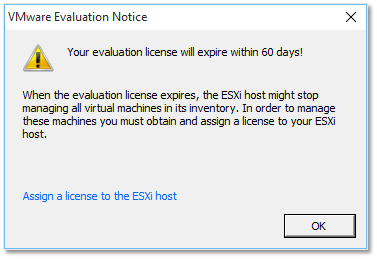
Step 3 – Press OK to acknowledge the evaluation notice. You 60-day trial period starts now.
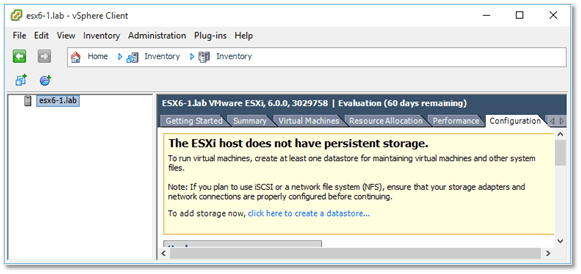
Step 4 – At this point, all’s looking pretty bare which is normal. We first need to create our first datastore. A datastore is a storage location where the files and folders comprising virtual machine will reside. I’m covering local datastores, these being those created on disks directly attached to ESXi as opposed to NAS and SAN datastores. The absence of a datastore is highlighted by the The ESXi host does not have persistent storage message shown next. This usually occurs because of insufficient disk space or problems with the underlying storage. This prevents the ESXi installer from automatically creating a local datastore.
Note: The following steps relate to creating a datastore. If a datastore has been created for you automatically you can skip them or create a second datastore just to get the feel for it.
Step 5 – Click on the ESXi hostname in the left-hand pane. Move to the Configuration tab and select Storage from Hardware. Click on Add Storage from the Datastores view.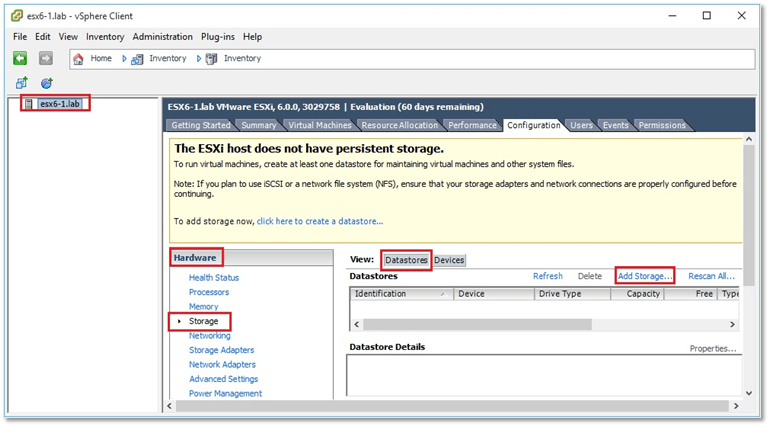
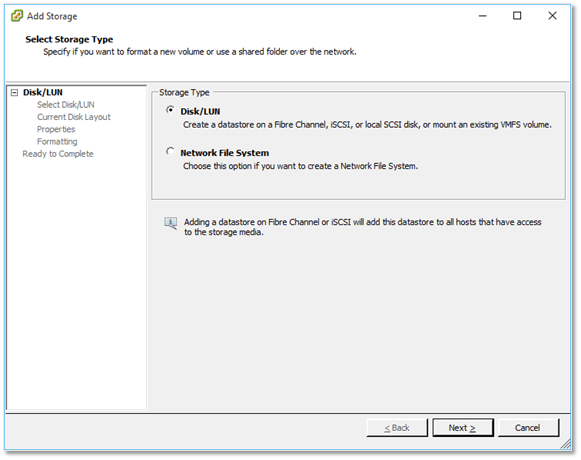
Step 6 – Select Disk/LUN and click Next.
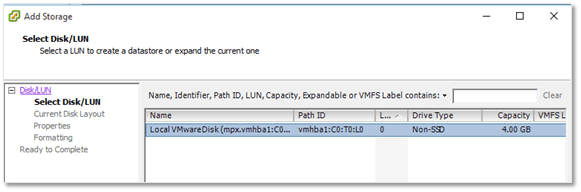
Step 7 – Select the disk where you want the datastore created and click Next.
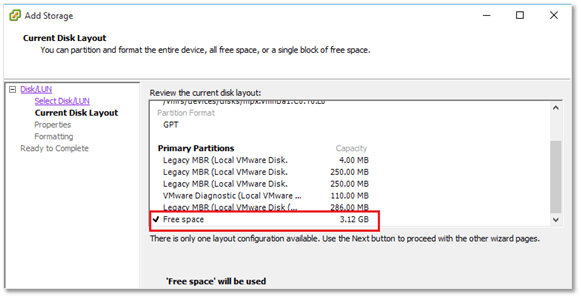
Step 8 – Note the existing partitions on the disk. This is where ESXi has been installed. We’re interested in the amount of free space available to determine if and where the new datastore is created.
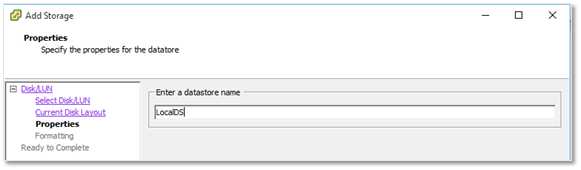
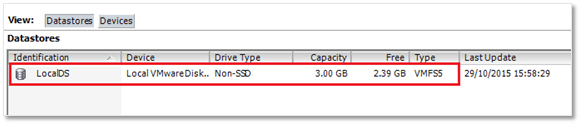
Step 9 – Specify a name for the datastore. For this example, I used LocalDS. Press Next to continue.
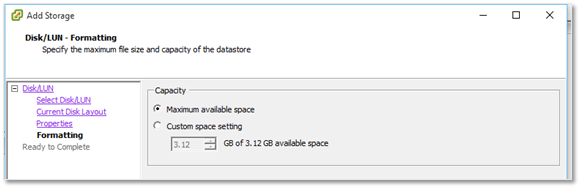
Step 10 – Specify the amount of disk space you want allocated to the datastore and press Next.
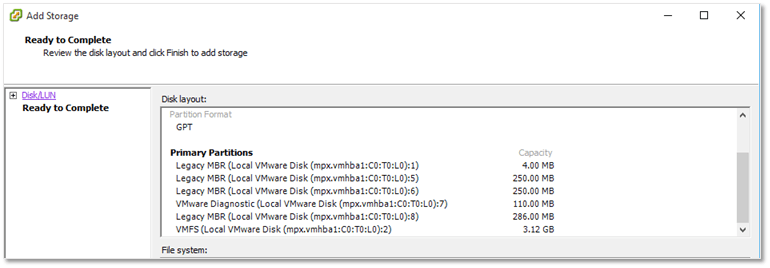
Step 11 – Click on Finish to create the datastore. You will see the LocalDS datastore listed in Datastores pane.
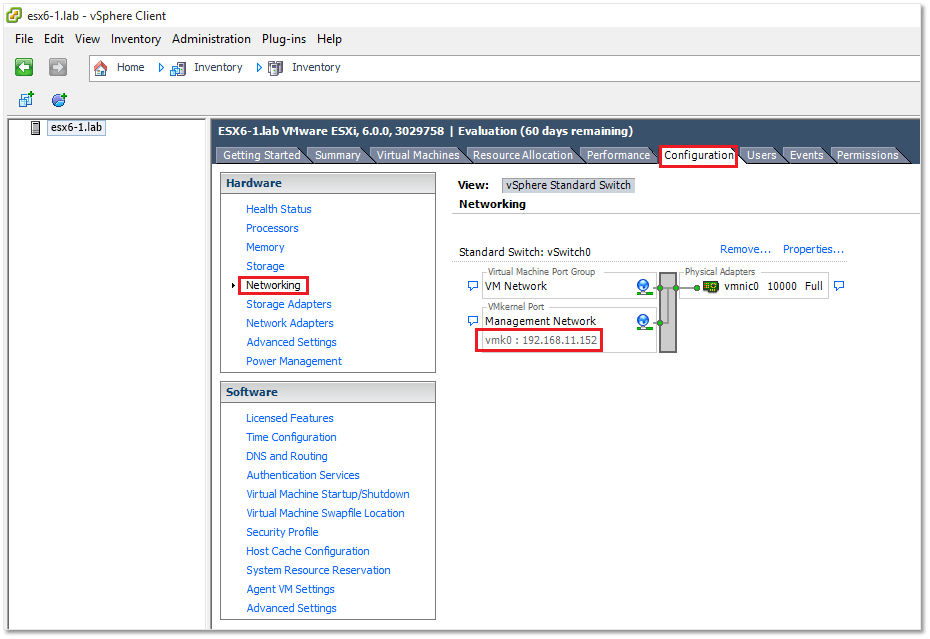
Switch to the Configuration tab and go through the list of settings found under the Hardware and Software categories. In particular, have a look at the Networking settings paying attention to the default Standard Switch, the VMkernel Port and the Management Network.
Conclusion
This concludes part 2 of this series where we went over the process of installing and configuring the nested ESXi hosts. In the third and final post, I’ll show you how to install and configure vCenter Server 6.0 for Windows and how to add the nested ESXi hosts to it, among other things.
As always, drop me a note in the box below if you have questions, suggestions or perhaps any experiences you might want to share.
[the_ad id=”4738″][the_ad id=”4796″]


Not a DOJO Member yet?
Join thousands of other IT pros and receive a weekly roundup email with the latest content & updates!
More in this category


About the Author
Jason Fenech


7 thoughts on "How to set up a nested vSphere 6 environment – Part 2"
Does it work when you use partedUtil to create partition use setptbl in nested Esxi setup?
it will erase the boot partition(MBR)and make the ESXi VM not bootable anymore.
Hi,
Not sure why you would want to use a command line disk partitioning tool more so on a nested host. To be honest, I never tried it myself. If I did, I’d take a snapshot of the ESXi VM or back it up before testing this out.
Jason
Hi Jason. I have a problem with nested esxi vs to vds migration. Here is my scenario. I have a one physical machine. Installed esxi 6. Moreover installed 3 different esxi 6 on that box. In a physical esxi i mean primary one, installed seever 2012 and vcenter. In a vcenter i build my 3 cluster. Compute, edge and management cluster. When i migrate from vswitch to vds, my hosts (esxi1,esxi2 and esxi3 vm) port groups are not migrating to distributed port group. When i manually change it, i lose connectivity. Promiscous mode is Allowed. Do you have any idea?
Hi Kamil,
Not sure if I understood you correctly. Are there 3 clusters in your environment or just one serving all roles? Also, do you have multiple DCs or just one? Are you getting any error messages or warning while migrating to vDS?
Jason
Hi Jason,
Actually there is no error message. There is 1 physical machine. HP prolicant server. ESXI 6.0 is installed on that. VCENTER is working on that esxi. After that there nested esxi installed. From vcenter i added all three hosts to the Datacenter. Now when i try to migrate nested esxi’s port groups and vswitch to vds and distributed port groups, i do not encounter any issue but connection is losing between them. After the migration i check VM’s network connection and i see that port group did not migrated. Still on old port group not distributed port group